How to Embroider a Photograph (Easy DIY for Beginners)
Embroidered photographs are one of my favorite things to make— they’re a beautiful and unique way to display your favorite memories. In this post, I walk you through exactly how to embroider a photograph, including what supplies you need, how to prep your photo, and tips for making it look great as a gift.
These embroidered photo ideas are perfect for adding a personal, handmade touch to your favorite memories, and they make the most thoughtful gifts. If you are looking for a beginner-friendly craft that looks way more impressive than the effort it takes, you’re in the right place.
Whether it is a snapshot from a trip, a picture of someone you love, or a moment you never want to forget, embroidering a photograph is a beautiful way to add a little touch of whimsy to it. Plus, it is a great excuse to slow down, get off your phone, and do something creative.
So here is everything you need to know about how to embroider a photograph:
Design Ideas
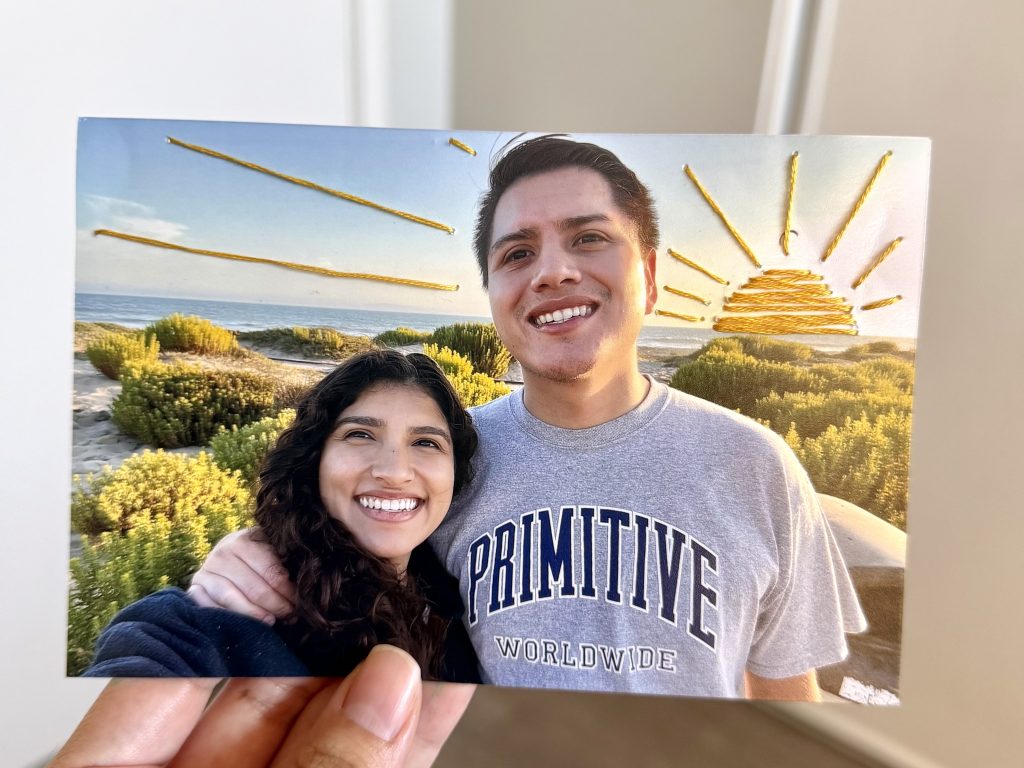
This project can be as simple or as detailed as you want to make it. Here are a few ideas to get you started:
If you are a complete beginner, try one of these simple designs:
- Add a simple sun above a beach photo
- Create a starburst pattern around your subject
- Add a crown above someone’s head in a birthday photo
If you want to get a little more advanced, you can try:
- Add hearts around a couples photo
- Embroider the flowers that are already in your photo
- Add a floral crown around a portrait
Start small, but don’t be afraid to try new things once you get comfortable!
What You Need to Embroider a Photograph
Before you start, gather these supplies:
- Printed photos: I love the quality of MPix, but CVS and Walgreens are quick and convenient options too. You don’t have to use a black and white photo, but I personally love the look of colorful embroidery floss against a black and white print.
- Embroidery thread: Choose colors you like or that you think will look best based on your photo. I use DMC embroidery floss and think it works great. However, I have also found some at Dollar Tree, so it is worth a try if you are in a pinch.
- An embroidery needle: This is what you will use to stitch your design. A basic embroidery needle from any craft store works perfectly.
- Scissors: Use them to trim your floss between colors and at the end.
- Tracing paper: (or any thin paper you can see through) This will allow you to sketch your design before creating the holes your needle will stitch through.
That’s all you need! Once you have your materials, you are ready to go.
How to Embroider a Photograph: Step-by-Step
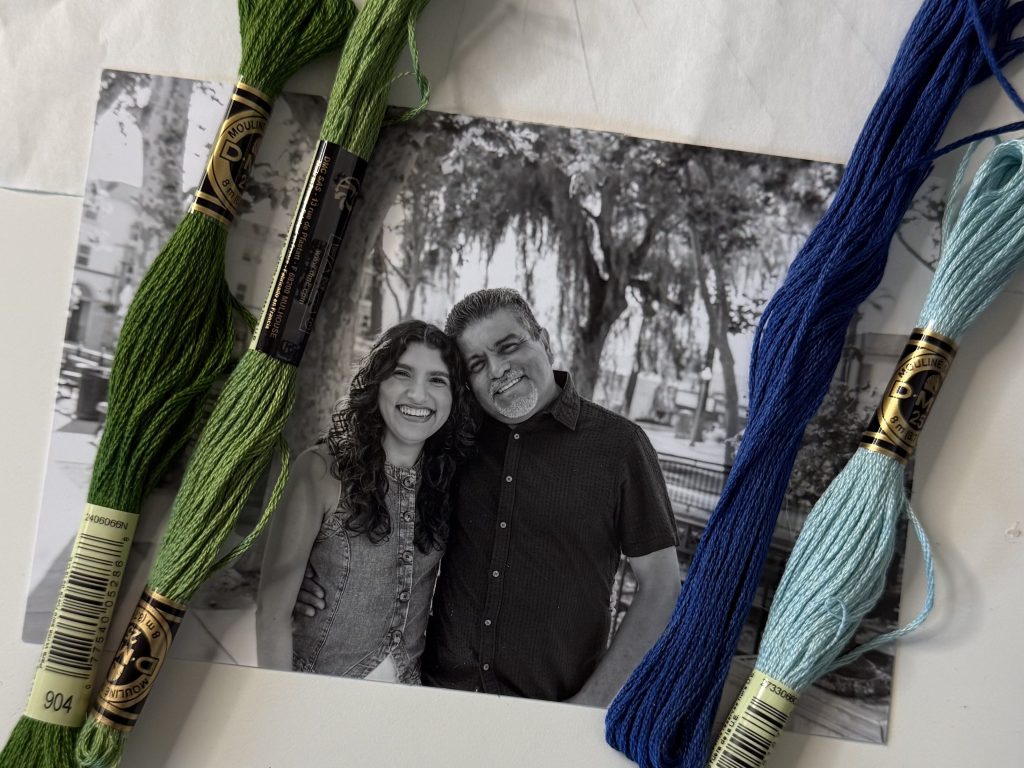
Step 1: Prep Your Photo
First, look at your photo and decide which elements you want to embroider. You can use embroidery floss to highlight details that already exist in the photo, or add something entirely new. Either way, don’t be afraid to experiment. Remember, this is supposed to be fun!
- Place your photo face down on the tracing paper and tape it in place.
- Flip it over and use a pencil to sketch out your design.
- Use your needle to poke holes along the design.
- Remove the tracing paper.
Step 2: Embroider Your Photo
Now for the fun part! Here is how to embroider a photograph once your holes are in place:
- Thread your needle and tie a knot at the end.
- Push the needle up through the back of the photo. Add a small piece of tape to secure the thread if needed.
- Continue stitching your design. Don’t stress if the back looks messy— once it is framed, no one will see it anyway.
- When you are finished, tie a knot at the end and tape it down if needed.
Tip: When working with multiple colors, finish one color completely before moving to the next. Take your time and enjoy the process!
Ways to Display or Gift an Embroidered Photograph
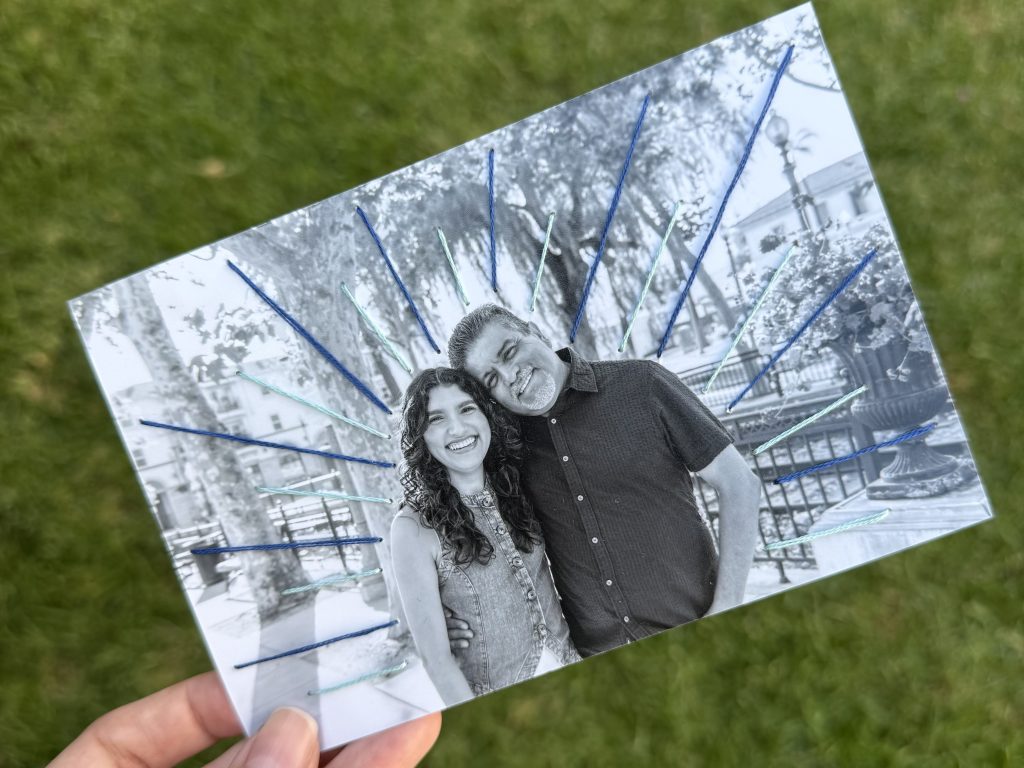
Embroidered photos make such a thoughtful and unique gift. Here are a few ways to use them:
- Frame them for a finished, polished look
- Add them to a shadow box with pretty cardstock for a layered display
- Attach one to the front of a handmade card
FAQ:
Yes, you can embroider a photo printed on regular printer paper. However, it wouldn’t be my first choice. If you’re not able to get your photos professionally printed, I’d print them on cardstock so they’re a little more sturdy. But if printer paper is all you’ve got, you can still make it work. Just thread your photo gently, being careful not to pull too hard so that you don’t rip your photo.
An embroidery needle is great because the eye is typically larger to fit your thicker embroidery thread and makes larger holes. However, I’m always a fan of using what you have whenever possible. If you can get your embroidery thread through the eye of your regular needle, try using that before you run out to buy new needles.
Get Crafting!
Now that you know how to embroider a photograph, the hardest part is just picking which photo to use first! If you are making this as a gift, be sure to check out my other DIY gift ideas for even more handmade inspiration. And if you have any questions along the way, leave them in the comments— I’d be happy to help!