Fabric Covered Bulletin Board (Easy DIY, No Glue)
In this post, we’ll show you how to make a fabric covered bulletin board using just a corkboard, fabric, and a staple gun. No glue required.
Affiliate Disclosure: This post may contain Amazon affiliate links. As an Amazon Associate I earn from qualifying purchases, at no additional cost to you. Linked items are what I personally use, but feel free to substitute with your own favorites.
How to Make a Fabric Covered Bulletin Board (No Glue Needed)
I’ve had this old corkboard for years. Lately it’s been sitting in the back of my closet because I felt too guilty to throw it away.
Honestly, it had seen better days. It was pretty ugly at this point, and I don’t even know how it got so many marks on it. But I knew I wanted to give it a second life instead of buying a new one.
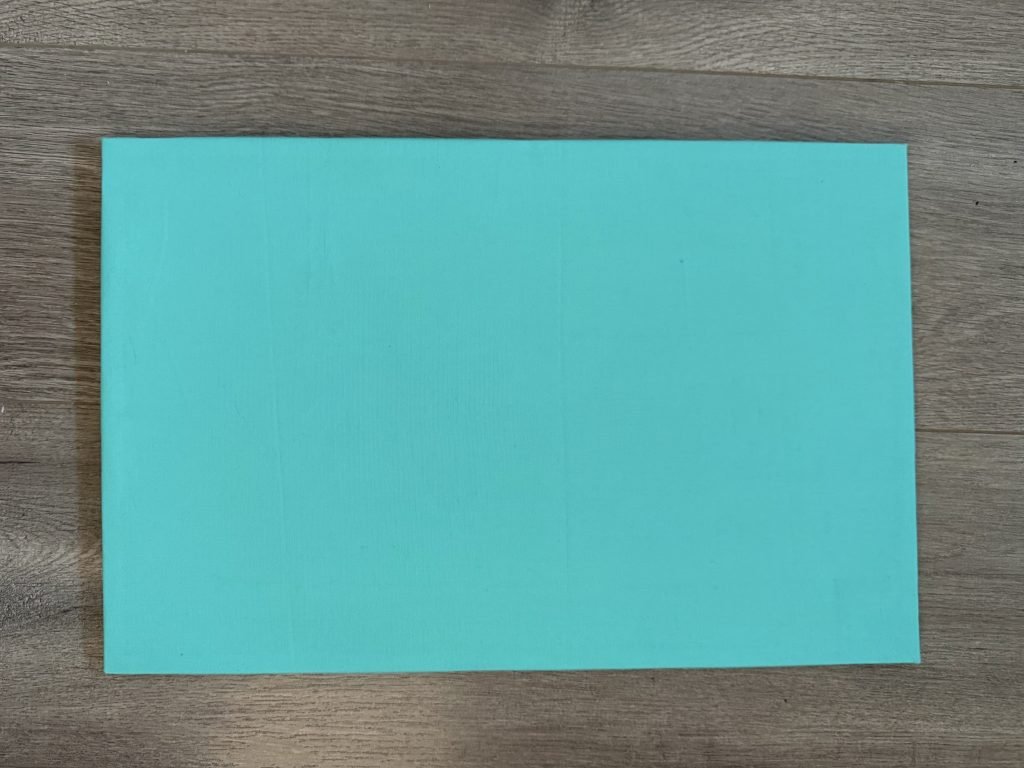
So I finally dug through my fabric stash and picked something I liked. I was going to go with a pattern, but I ended up choosing a solid teal. It’s simple, so it won’t look too overwhelming with photos and other mementos pinned onto it.
Why I Skipped the Glue
I’ll be real: I was a little intimidated at first. When I was researching, I kept seeing tutorials that used different types of glue. I was worried I’d pick the wrong kind and end up with a sticky mess and a cork board that couldn’t be fixed.
So I skipped the glue altogether and kept it really simple. Staples also mean I can swap the fabric later if I change my mind about the style, or want to do something seasonal. That’s a big win for me!
What You Need to Cover a Bulletin Board with Fabric
- A corkboard (an old one is totally fine!)
- Fabric in the color or design of your choice
- A staple gun, or a stapler that opens flat
- Fabric Scissors, or a rotary cutter
- Optional: white paint (more on that below)
How to Make a Fabric Covered Bulletin Board: Step by Step
1. Measure and Cut Your Fabric
Cut your fabric so it’s a little over an inch larger than the corkboard on every side. Before you cut, try folding the fabric over the edges to make sure it’s long enough. Measure twice, cut once!
2. Position Your Board
Lay your fabric pattern side down on a flat surface. Then place your corkboard face down on top of the fabric.
3. Staple the First Side
Pull the fabric up over one edge and staple it to the back of the board.
4. Staple the Opposite Side
Pull the fabric taut and staple the opposite side. This is the most important part, so don’t leave the fabric loose. Pulling it tight is what keeps everything smooth and in place.
5. Finish the Last Two Sides
Repeat on the remaining two sides, and you’re done! Now you’re ready to hang up your bulletin board and decorate it.
A Quick Tip: Cover Up Stains and Marks
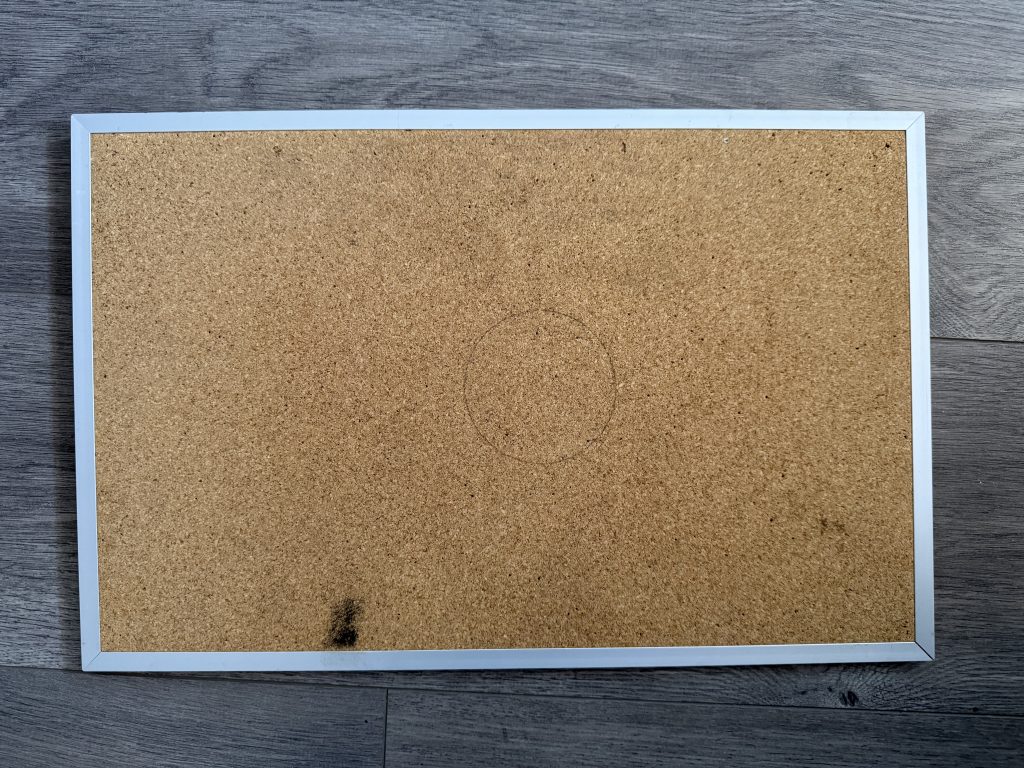
If your corkboard has marks on it like mine did, or you’re using a light fabric and don’t want the brown cork showing through, you can paint the board white before adding your fabric. It’s a quick step that keeps your fabric looking bright and true to color.
Is Stapling Better Than Glue?
I chose staples over glue because I wanted the option to change the fabric later. I don’t plan on swapping out my photos very often, and the fabric hasn’t budged at all since I pulled it tight. If you like to change up your decor often, this method is really flexible.
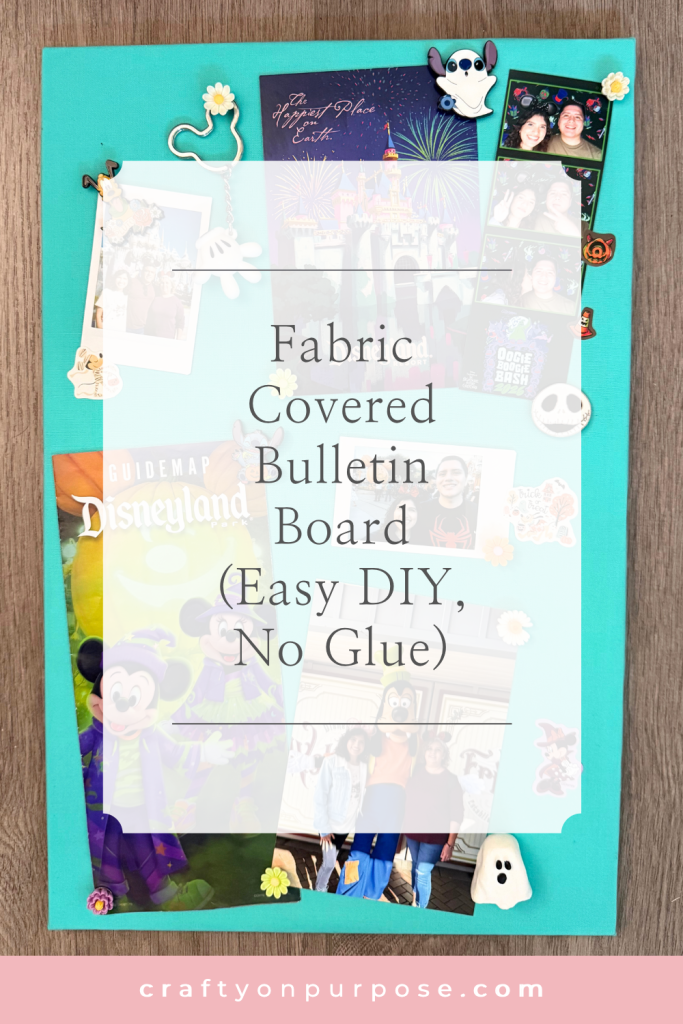
How I Decorated My DIY Fabric Bulletin Board
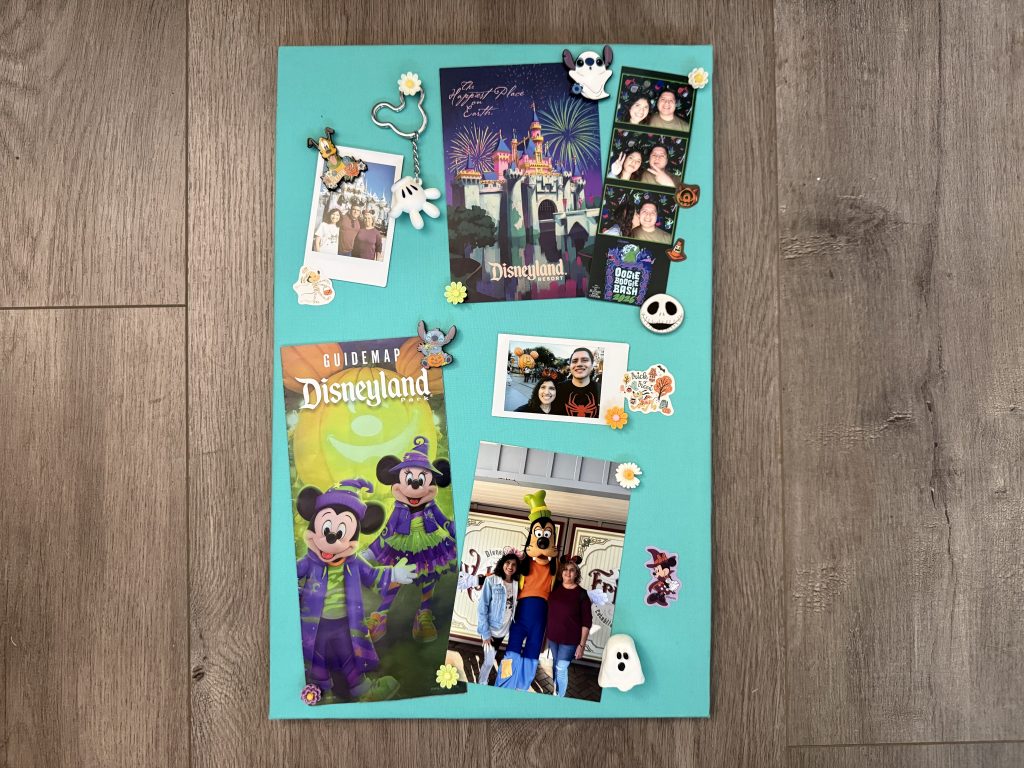
Once the board was covered, I knew I wanted to keep a theme, so I went with Disney Halloween. I’m a big Disney fan, so I had plenty of things I could use.
Here’s what I used:
- A map, postcard, and Polaroid photos: I grabbed a photo booth strip and printed photos from some of my recent Disney trips. I love the Fujifilm printer for projects like this.
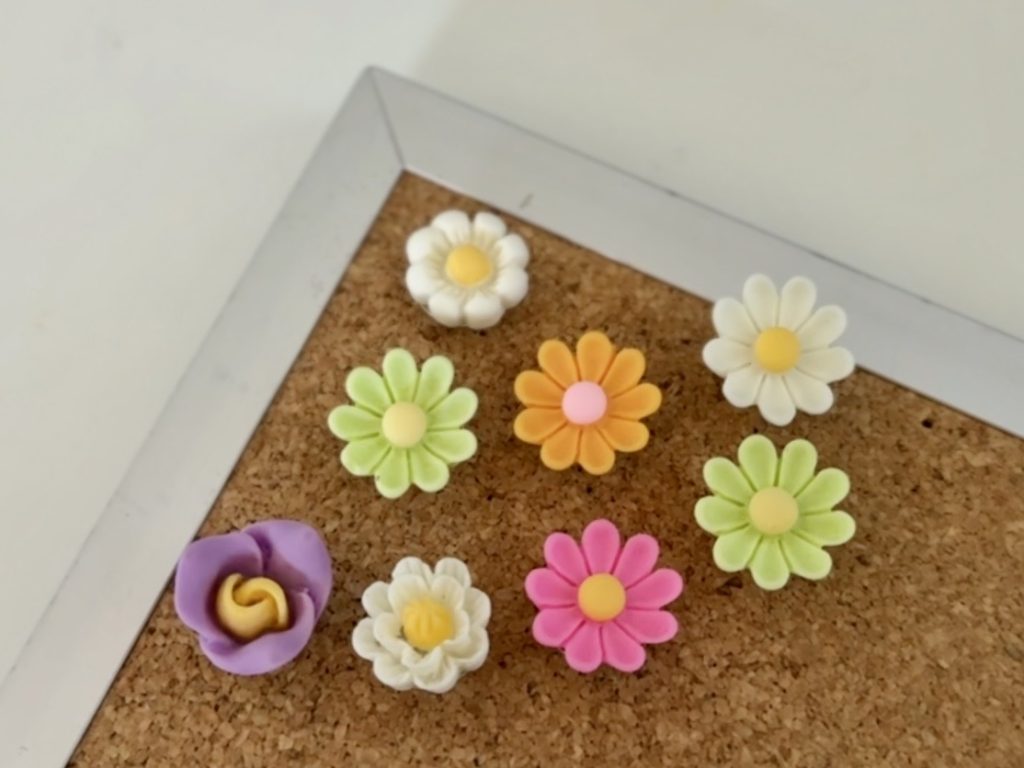
- DIY pushpins: I had some flower charms from SHEIN that I bought over a year ago and never knew what to do with. I used super glue to attach them to pushpins, and now they hold up my photos. I also did this with a clay ghost I made.
- Disney pins: I pinned some of my collection right onto the fabric.
- Small stickers: I was a little worried these would fall off the fabric since the adhesive isn’t strong, but they’ve held up so far.
If you have stickers that won’t stay put you can pin them or try double-sided tape. It’s one of my favorites, and it works well on fabric.
Final Thoughts
This project took very little time, and it gave me a bulletin board that makes me smile every time I look at itt. It’s budget-friendly, beginner-friendly, and a great way to use supplies you already have. Plus, if you don’t already have a corkboard, you can thrift one and keep one more thing out of the landfill.
If you’ve got an old corkboard hiding in a closet, this is your sign to pull it out and give it a makeover.
Want more ideas for using your Polaroid photos? Check out 5 Quick Keepsake Crafts For Polaroid Photos.