How to Paint Ceramic Coasters (Easy Halloween DIY)
In this post, I’ll show you how to paint ceramic coasters step by step, with an easy Halloween design that looks just like those classic Pillsbury sugar cookies.
Affiliate Disclosure: This post may contain Amazon affiliate links. As an Amazon Associate I earn from qualifying purchases, at no additional cost to you. Linked items are what I personally use, but feel free to substitute with your own favorites.
I bought a pack of plain ceramic coasters from Dollar Tree so long ago, and they just sat in a drawer. Honestly, I got totally overwhelmed. There were so many things I could do with them that I couldn’t pick one.
Then, I started seeing videos of people recreating the classic Pillsbury sugar cookies, the ones with the little seasonal shapes on top. They turned them magnets, Minnie ears, and wall decor. That’s when it clicked. I knew exactly what I wanted to make to bring some Halloween vibes into my space: coasters!
Sometimes the hardest part of crafting is just picking an idea. So I stopped overthinking it and chose the one that made me smile.
Baking these cookies has been one of my favorite holiday traditions the past couple of years. I love baking other cookies too, but these are a simple, low-effort way to mark the season, so I always try to make them. So I grabbed my favorite acrylic paint and got to work.
Supplies You’ll Need
- Plain ceramic coasters (mine are from Dollar Tree)
- Pencil
- Acrylic paint (beige, a slightly darker tan, plus colors for your shapes)
- Paint brushes
- Sealant (more on this below)
Optional: rubbing alcohol and a paper towel for cleaning your coasters first.
How to Paint Ceramic Coasters (Step by Step)
Step 1. Paint the base coat
Start by painting your base color. I went with beige to get that classic raw-cookie-dough look. Then I added a slightly darker shade around the edges to give it some dimension, kind of like a cookie that’s just starting to bake.
Don’t stress if the first coat doesn’t cover the coaster fully. Let it dry, then add another thin coat. Thin layers really do work better than one thick one.
Step 2: Sketch Out Your Design
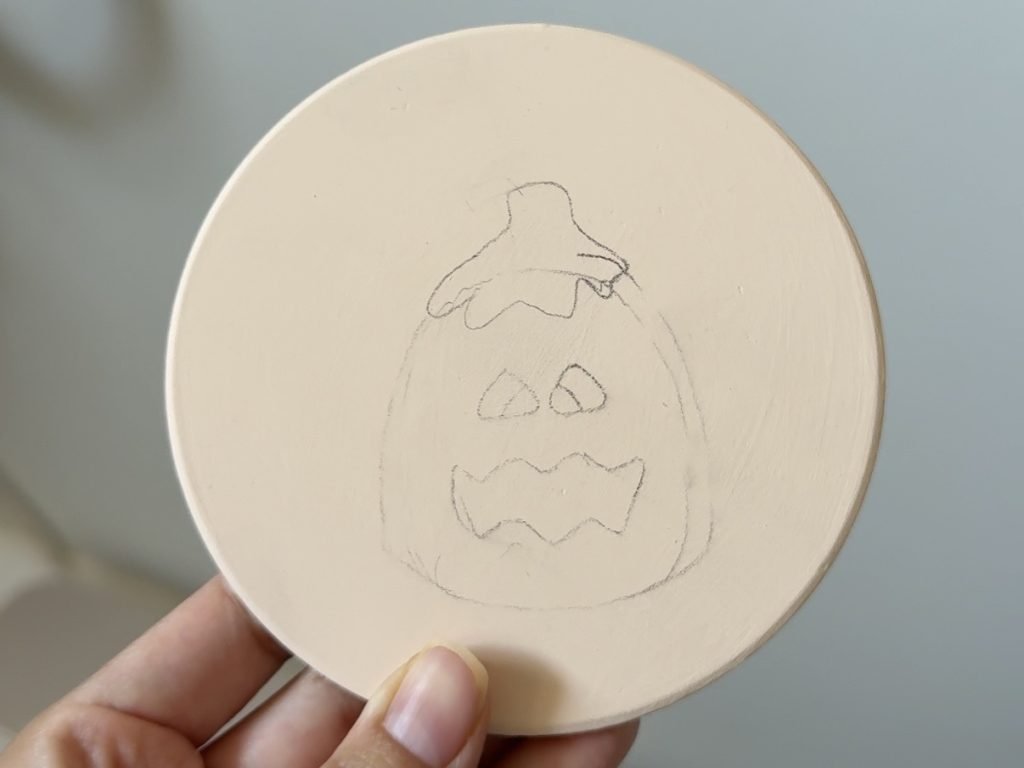
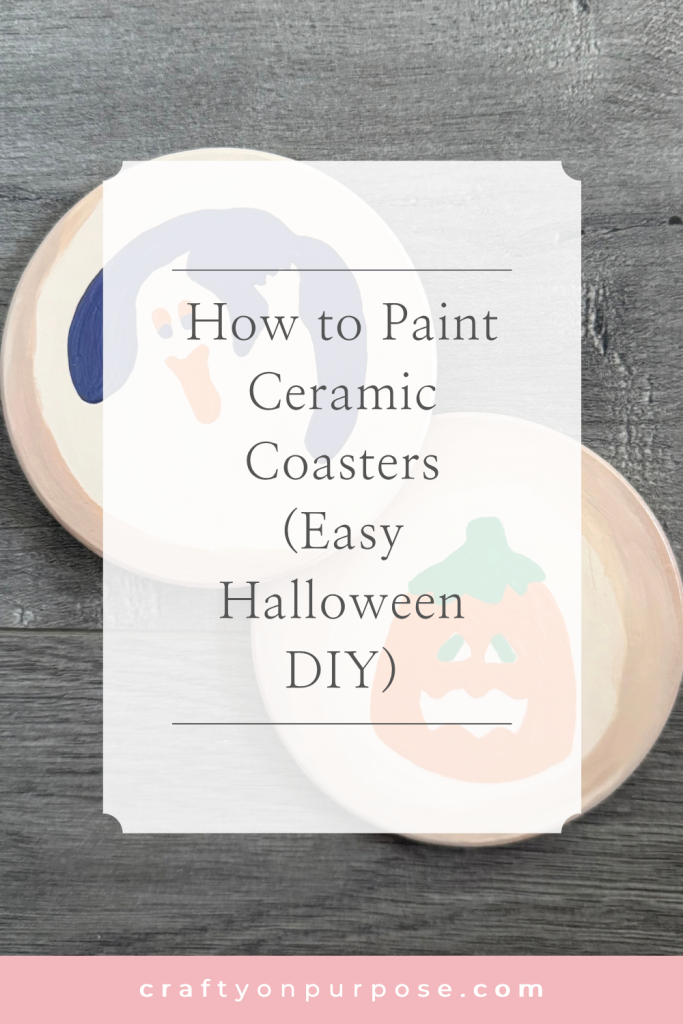
Next, lightly sketch your shape right on top of the dry base coat with a pencil. I made a ghost and a pumpkin, just like the little shapes on the real cookies.
Step 3: Paint the Details
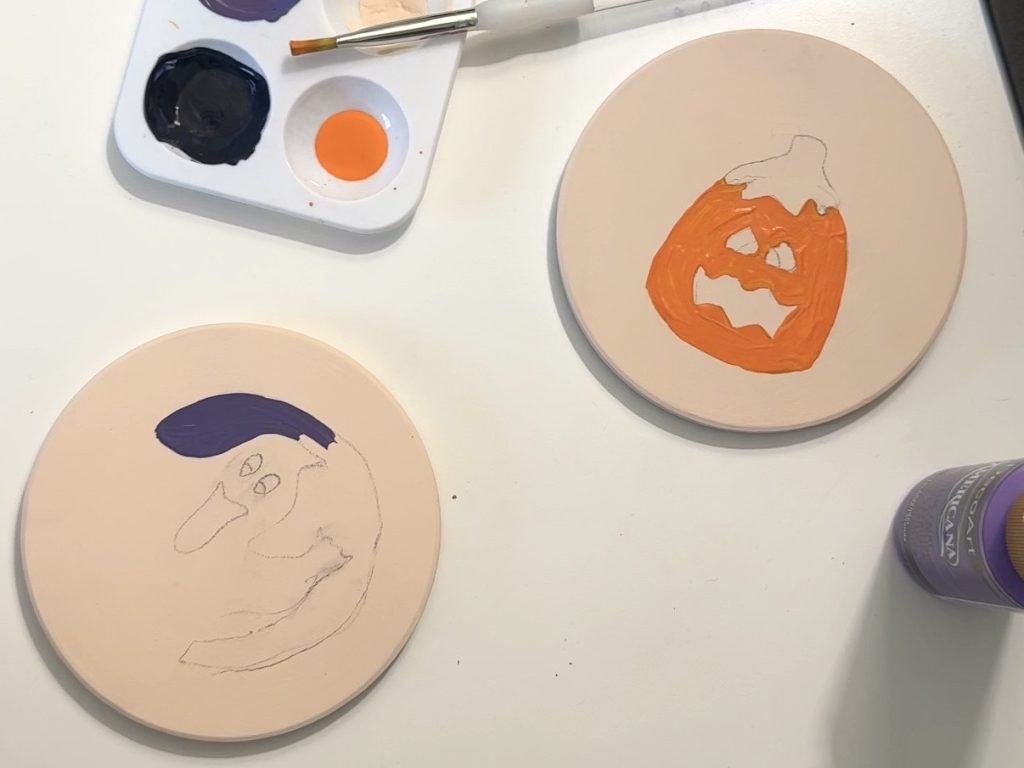
Now for the fun part! Slowly add in your details until you’re happy with how everything looks. I’d suggest starting with the biggest shapes and saving the tiny details for last.
I painted a ghost and a pumpkin on mine. But if you want a full set, you could make three and add a black cat. Or skip Halloween entirely and go with Christmas designs.
Step 4: Seal Your Coasters
Once everything is totally dry, it’s time to seal. Sealing protects your paint from chipping and scratching.
I used polycrylic because it’s what I had on hand. But I’ve heard polycrylic isn’t great if you plan on using heat. If you want something more durable, I’ve read that resin or polyurethane are better options.
Why These Coasters Feel So Nostalgic
Pillsbury cookies are such a classic part of the holidays. Painting them onto coasters means you get that cozy, baking-season feeling in your space, without the dirty dishes.
Tips for Painting Ceramic Coasters
A few things that make the process smoother:
- Wipe the coasters first. A quick wipe with rubbing alcohol removes any oils or dust, so the paint sticks better.
- Go slow with the base coat. Let each coat dry before adding the next.
- Test your colors. Try them on a scrap piece of paper first, especially if you’re mixing your own shades.
- Don’t overthink it. If a line doesn’t look perfect, it just looks handmade. That’s the charm! (Real cookie shapes aren’t perfect either.)
Can You Use Painted Coasters for Drinks?
Painted ceramic coasters work best as decorative pieces, especially if you sealed them with polycrylic like I did. Hot mugs and condensation from cold drinks can wear down the finish over time. If you want to use them every day, go with a more heat-resistant sealant like resin or polyurethane, and check the product label first.
More Painted Coaster Ideas
Once you know how to paint ceramic coasters, you can totally customize them for any season:
- Halloween: a ghost, pumpkin, and black cat set
- Christmas: Christmas trees, snowmen, or gingerbread shapes on your cookie base
- Valentine’s Day: hearts in pink and red
Painted Coasters Make a Great Handmade Gift
Make a set of coasters with mixed shapes (ghost, pumpkin, black cat, and so on), then wrap them with ribbon or twine. They’re totally budget-friendly and feel thoughtful. Just seal them well and let your recipient know they’re best as decorative pieces unless you used a heat-resistant sealant.
If you need more wrapping ideas and love nostalgic projects, check out the gift tags in my post on 7 Creative Ways to Upcycle Old Children’s Books.
Final Thoughts
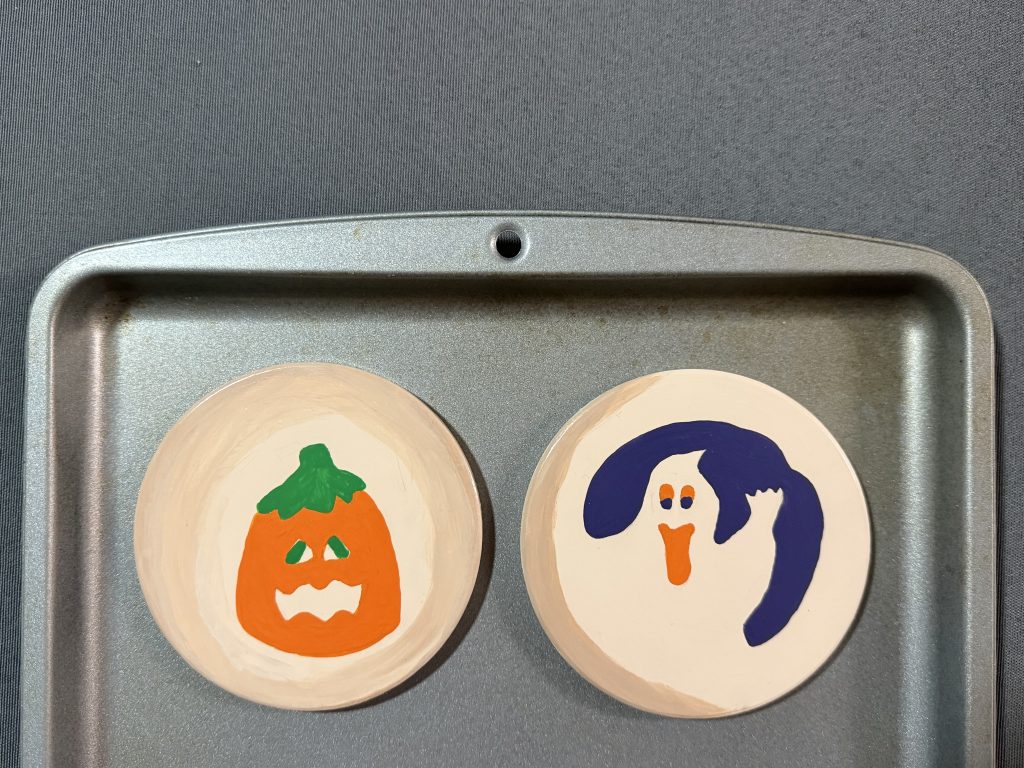
This is a super simple craft if you’re looking for a relaxing way to add some whimsy to your home. It’s also a great excuse to finally use those supplies that have been sitting in your drawer. (No judgment, I held onto mine for ages.)
If you love crafting memories, you’ll want to check out Scrapbooking For Beginners and 5 Quick Keepsake Crafts For Polaroid Photos.
If you try this project, I’d love to see it! Save this post on Pinterest so you can come back to it when you’re ready to paint!