Scrapbooking for Beginners: How to Start (Without Feeling Overwhelmed)
If you’re new to scrapbooking, this beginner-friendly guide will show you exactly how to start preserving your photos and mementos in fun and easy way.
Affiliate Disclosure: This post may contain Amazon affiliate links. As an Amazon Associate I earn from qualifying purchases, at no additional cost to you. Linked items are what I personally use, but feel free to substitute with your own favorites.
If you’ve ever wanted to start scrapbooking but didn’t know where to begin, this guide is for you. It’s easy to get caught up in having the perfect supplies and thinking you need to have gorgeous design skills. But the truth is, scrapbooking for beginners is really about something much simpler, holding onto your memories in a way that feels meaningful to you.
I’ll be honest—before I started, I always thought scrapbooking felt a little… cheesy.
The spreads I had seen just weren’t my style. Everything looked super preppy, perfectly coordinated, and honestly a little intimidating. I assumed scrapbooking had to look that way, and if it didn’t, I was doing it wrong.
But this couldn’t have been further from the truth.
How I Started My Scrapbooking Journey
One day, I came across an Instagram post where instead of a regular photo dump, the photos were arranged into a digital scrapbook-style layout. It looked creative, layered, and honestly, super cool.
And of course, my first thought was, “I could totally make something like that in Canva“.
So I did.
Digital Scrapbooking
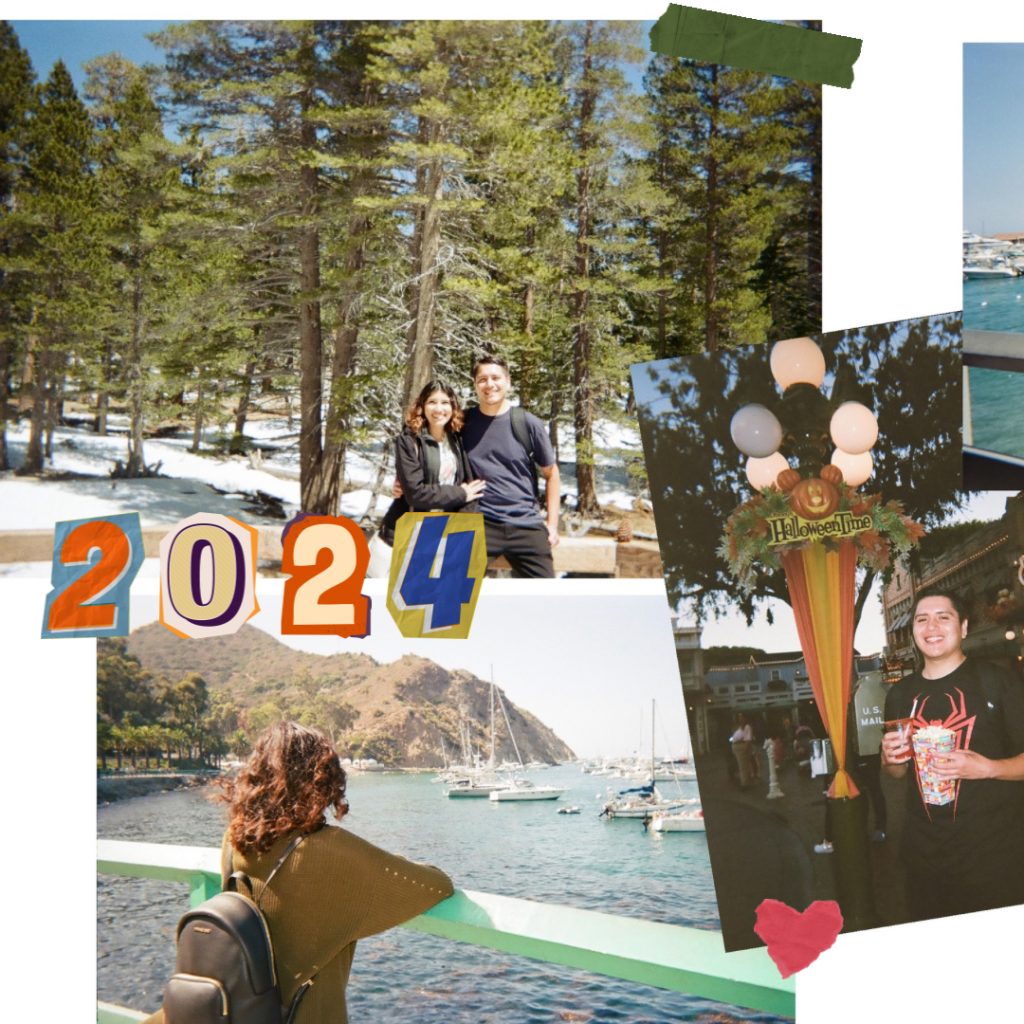
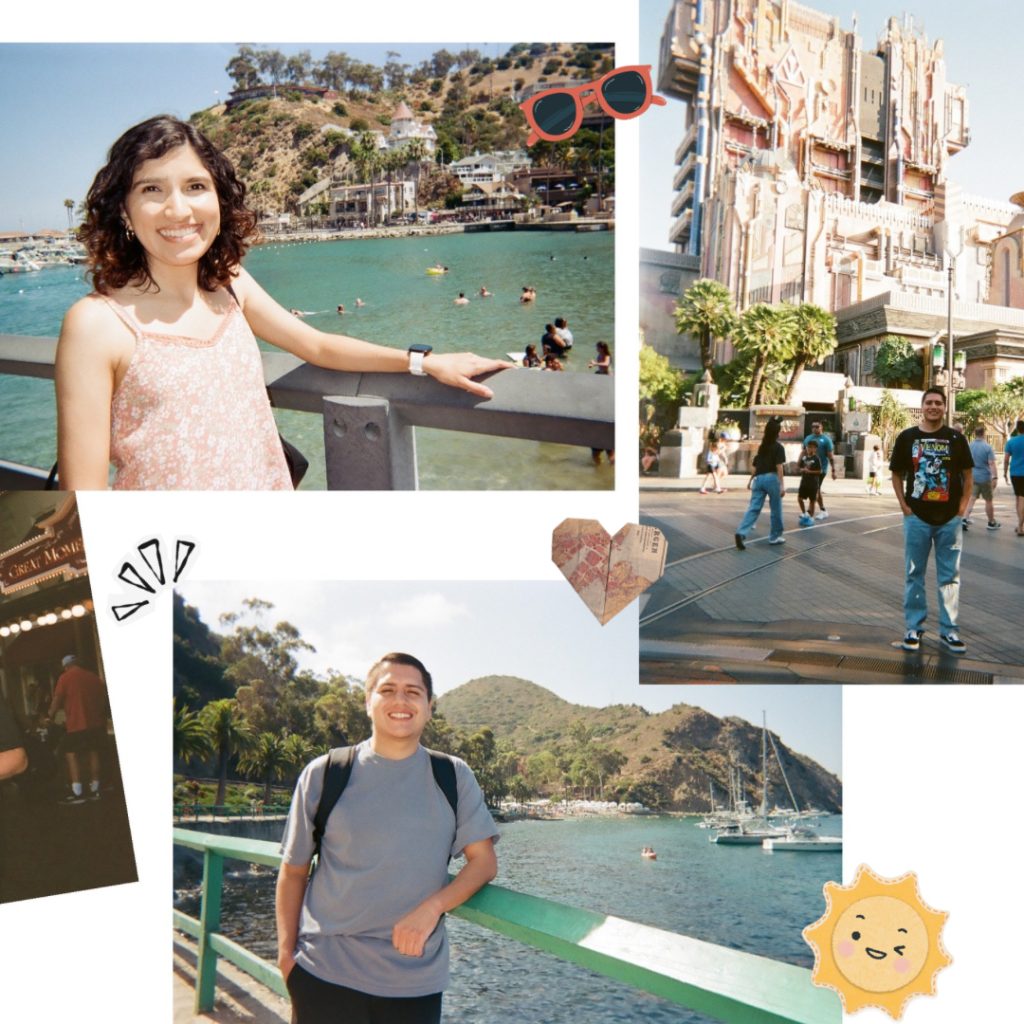
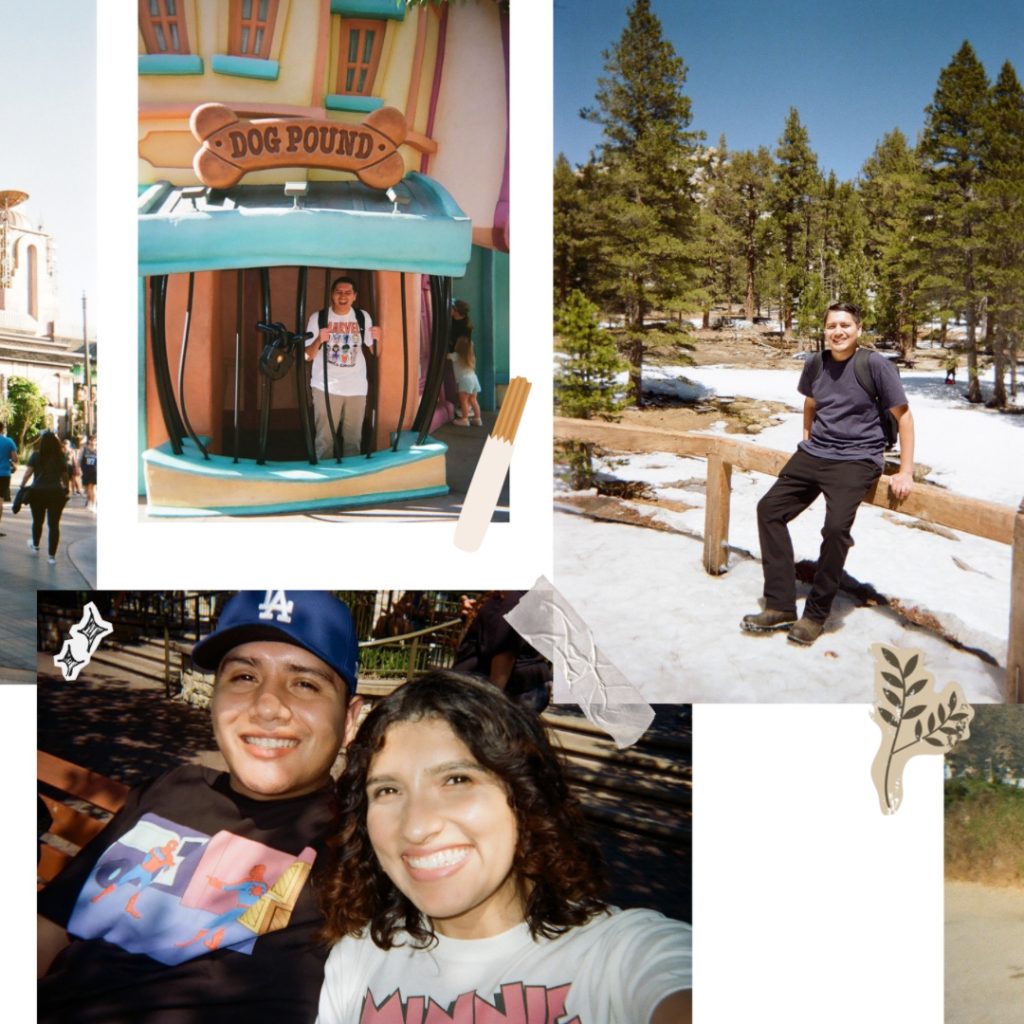
I started playing around with digital scrapbooking— adding photos, layering elements, experimenting with layouts—and I loved it. It felt creative, but also really approachable.
After a while though, I found myself wanting to take this offline. I wanted to make something. Something I could touch, flip through, and keep.
So I ordered a scrapbook, printed out some photos, and gathered supplies. (which it turns out, I already had a lot of, as a card maker)
And that’s when it clicked. Scrapbooking doesn’t have to look one specific way. It isn’t just for a certain type of person. It can be whatever you want it to be.
Finding Your Own Scrapbooking Style
Once I let go of the idea that scrapbooking had to look “perfect,” I started having way more fun with it.
Instead of trying to make everything match, I leaned into what I actually liked:
- More playful, less polished layouts
- Mixing textures and layers
- Adding little pieces from my day—receipts, maps, notes
My pages started to feel less like traditional scrapbooks and more like a mix between scrapbooking and junk journaling.
And honestly? That’s when it became mine.
If you’re just starting out, this is your reminder:
There’s no “right” way to scrapbook. You’ll figure out what you like as you go.
Why Try Scrapbooking?

If you’re on the fence, here are a few reasons scrapbooking is such a great creative outlet—especially for beginner crafters.
1. A Way to Preserve Your Memories Offline
We take so many photos, but most of them just sit on our phones.
Scrapbooking gives you a way to turn those moments into something tangible—something you can revisit without scrolling through an app.
2. Creative, But Low Pressure
You don’t need to be an artist to scrapbook.
You can keep it as simple as:
- Printing photos
- Gluing them onto a page
- Adding a short note or date
Or you can get more detailed over time. It’s completely up to you.
3. It Slows You Down (In a Good Way)
Scrapbooking is one of those activities that naturally helps you slow down and be present.
It’s creative, a little nostalgic, and honestly really relaxing.
How to Start Scrapbooking (Beginner-Friendly)

If you’re ready to try it, here’s a simple way to get started without overthinking it.
1. Choose Your Scrapbook
There are several options for the scrapbook itself. You can read all about scrapbook styles and sizes.
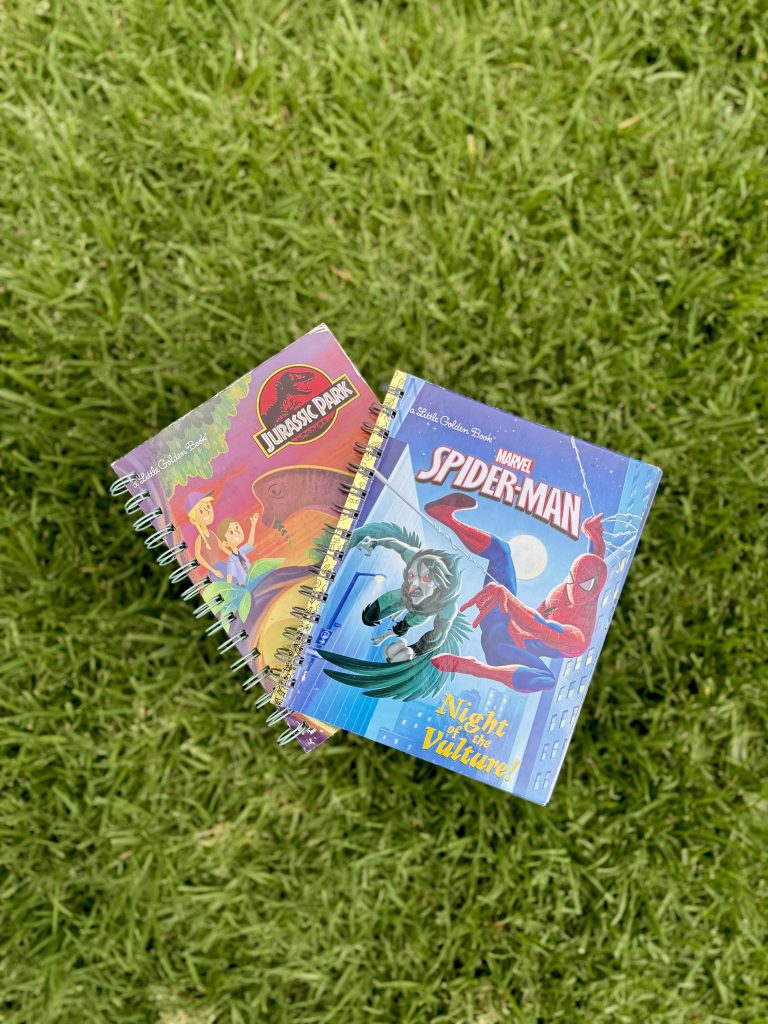
For complete beginners, I’d suggest either a binder-style album or a spiral bound album. Let me explain why:
Three-Ring Binder Style Album
- You can work in any order
- Great if you like flexibility
- Pages are protected inside plastic sleeves
Spiral Bound Album
- You design directly on each page
- Easy to find in stores and online
- Feels more hands-on and personal
Personally, I use a spiral bound album because I like seeing and feeling the pages without anything over them, but I totally see why binder albums are great too!
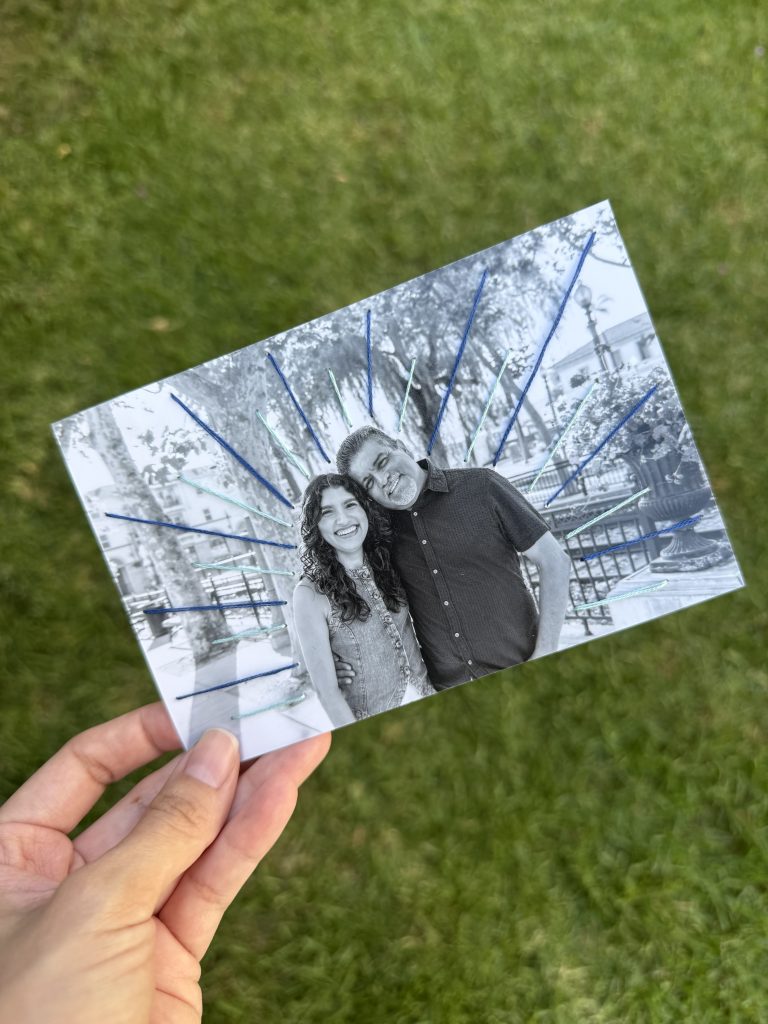
2. Print Your Photos
You can print your photos:
- At a professional print shop
- At your local pharmacy
- Or at home
It really depends on your budget and preferences.
If you care about photo quality, it’s worth investing a little more in prints you’ll love long-term. I personally like using high-quality prints (Mpix is my go-to) but I’ll also occasionally use an instant printer because I love the look these give. I’ve been using the Fujifilm Instax Mini Link printer (affiliate link). I have an older version, but I would suggest going with this one because it’s the updated model!
3. Gather Basic Supplies

You don’t need a lot to get started.
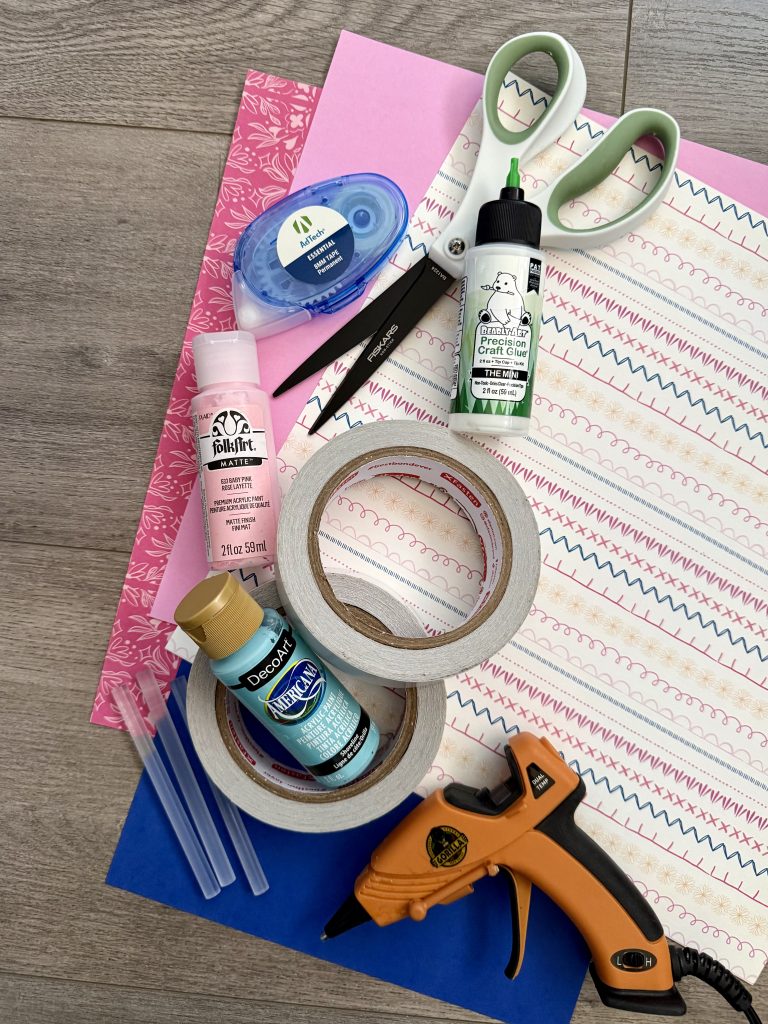
Here are the basics that I use and love (affiliate links):
- Cardstock (solid colors or patterned)
- Adhesive (glue or tape runner)
- Scissors
- Pens for journaling
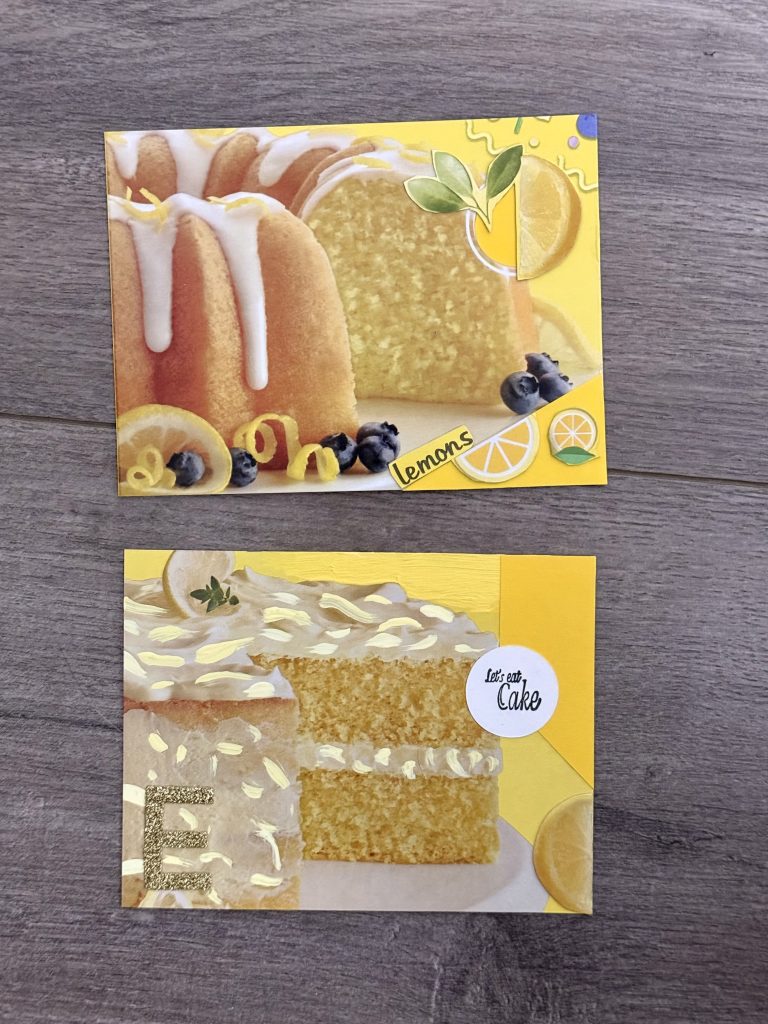
- Optional: stickers, stamps, or other embellishments
Chances are, you already have some of these at home.
4. Start Creating (Don’t Overthink It)
This is the most important step: just start.
Lay out your photos, move things around, and see what feels right. You can:
- Keep it simple and minimal
- Layer different elements
- Add little details from your day
There’s no perfect layout. You can choose to make every page different, or keep some type of theme going… it;s totally up to you! The more you do it, the more your style will naturally develop.
Final Thoughts: Let It Be Imperfect
If you’ve been wanting to try scrapbooking but felt like it wasn’t “your thing,” I get it, because I felt the same way.
But once you let go of the idea that it has to look a certain way, it becomes something completely different.
It becomes:
- A creative outlet
- A way to slow down
- A way to hold onto your memories in a more meaningful way
Start simple. Keep it personal. And most importantly—let it be imperfect. Because that’s what makes it yours.
And if you want even more ideas for crafting your memories, check out these 5 Quick Keepsake Crafts For Polaroid Photos.