Upcycled Magnets (Easy DIY Craft with Book Pages)
In this post, we’ll cover how to make your own magnets out of upcycled images and wooden blocks.
Affiliate Disclosure: This post may contain Amazon affiliate links. As an Amazon Associate I earn from qualifying purchases, at no additional cost to you. Linked items are what I personally use, but feel free to substitute with your own favorites.
A Little Backstory
I initially bought a pack of mini Jenga blocks at Dollar Tree after seeing some super cute Christmas craft projects on Pinterest. Well, Christmas came and went, and I totally forgot about those wooden blocks.
When I finally came across them again in my closet, I looked up ideas on Pinterest and saw that people were using these blocks to make magnets. I wanted to put my own spin on things, so I grabbed some old book pages I had left over from another project and got started!
These little upcycled magnets are super easy to make, and honestly, that’s what I love about them. You can really make them your own with whatever images you choose.
Choosing Your Images
There’s no right way to do this, but I love making my magnets into sets. I love a good theme, plus it just feels more put-together, and it’s a fun way to use up pages from the same book or magazine.
You’ll want to take the size of your magnets into account. I chose small images that fit well within the size of my blocks, but I can totally imagine cutting up one larger image into smaller pieces for a different look. If you’ve got a favorite illustration you want to feature, don’t be afraid to get think outside the box.
Supplies You’ll Need
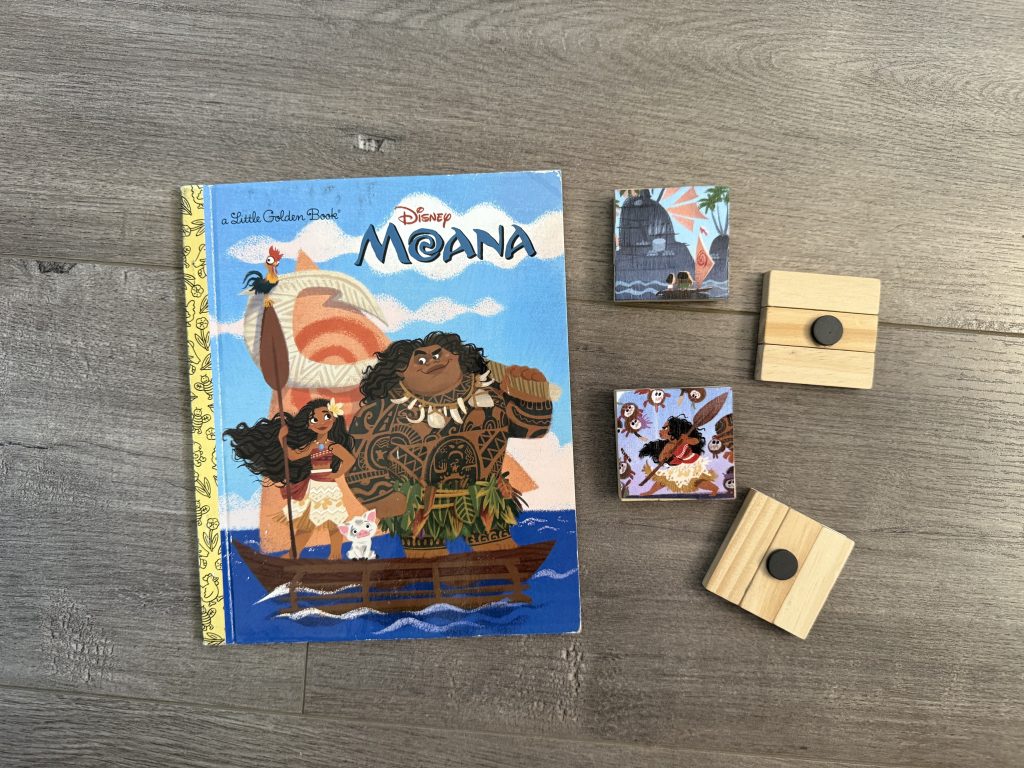
- Children’s books or magazines (anything with pictures you like)
- Small wooden blocks (I used mini Jenga pieces from the Dollar Tree)
- Mini hot glue sticks
- Hot glue gun
- Mod Podge
- Scissors
- Paintbrush
- Small magnets
Step-by-Step Instructions
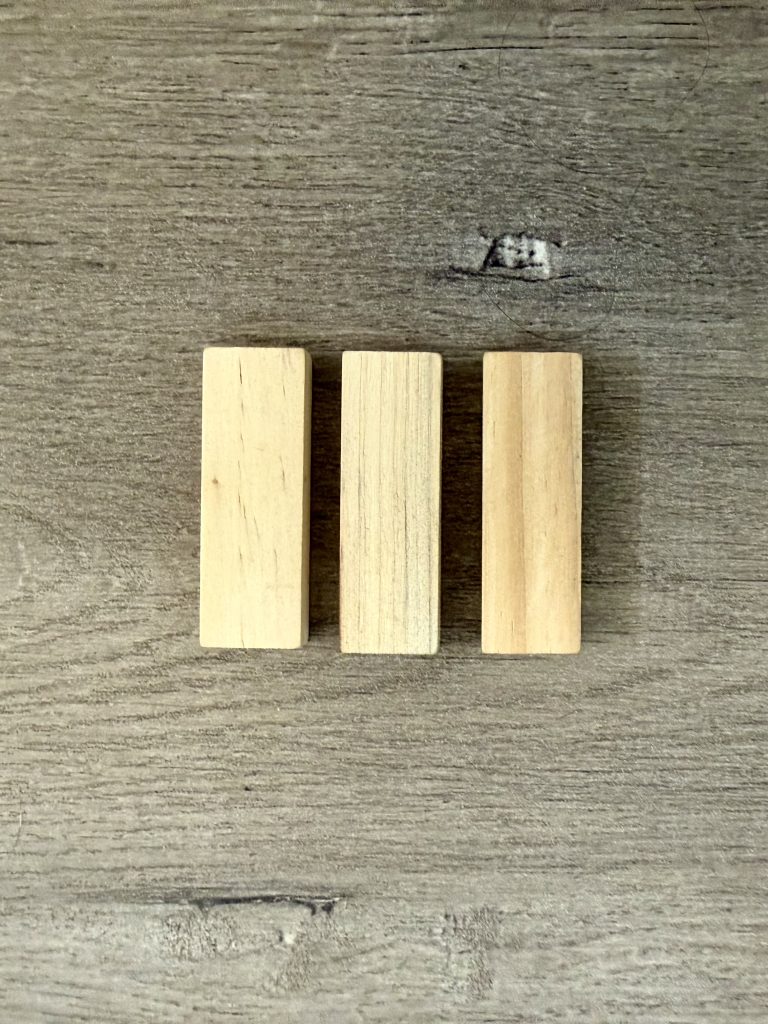
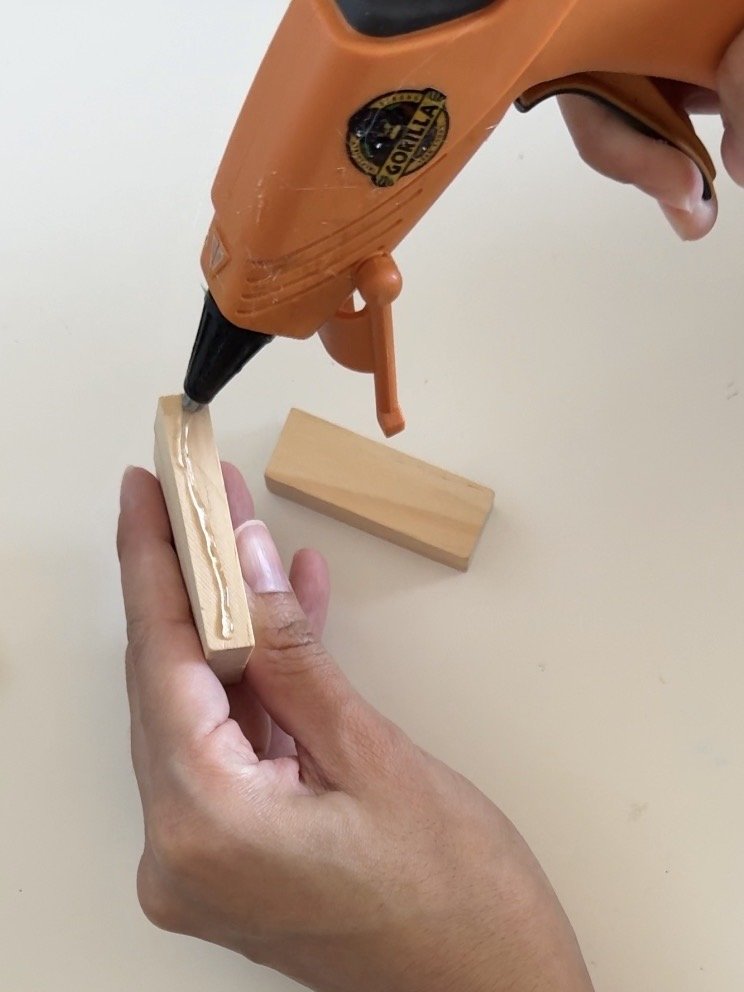
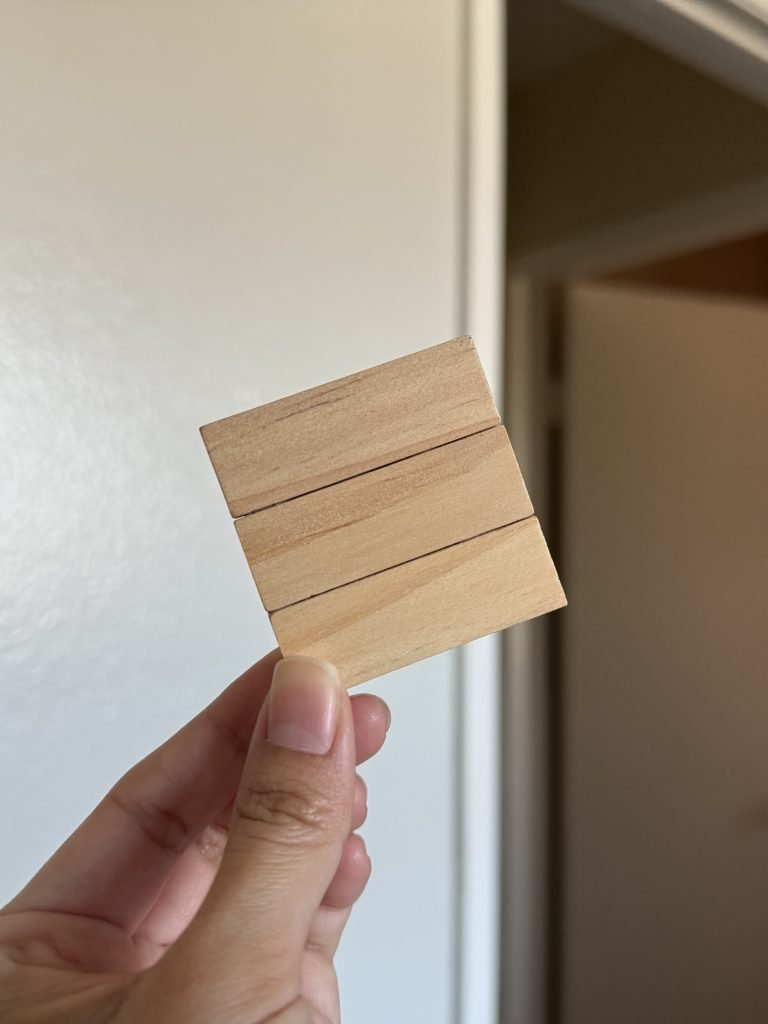
1. Build your block. Take three wooden blocks and hot glue them together to create one wooden square.
2. Pick your image. Once the wood is the size you want, look through your books or magazines to find images you like.
3. Trace and cut. Trace the wooden block over the image and cut it out.
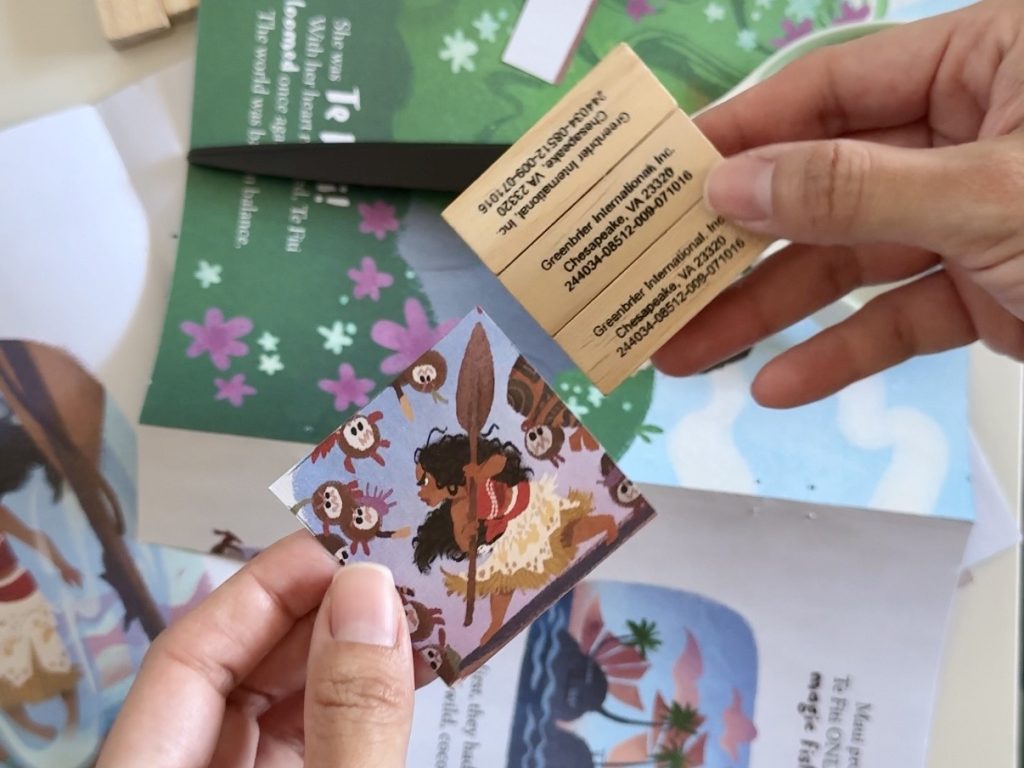
4. Attach the image. Brush Mod Podge onto the wood and onto the back of the image. Press the image down, then brush more Mod Podge over the front to seal it in place. I did three layers of Mod Podge total. (Note: My blocks had writing on one side, so I placed my image over that to cover it up.)
5. Add the magnet. Once everything is dry, attach your magnet to the back of the wooden block.
That’s it! Let it fully dry, and you’ve got yourself a one-of-a-kind magnet.
A Note on Glue and Sealing
I used hot glue on my wooden blocks to get this project done quickly, and honestly, they’ve held up really well after a few months. That said, mine live on the fridge and don’t get moved around much. If yours will be handled a lot, or if you feel like your blocks aren’t sturdy enough, wood glue is a great option too.
As for attaching the image to the block, I went with glossy Mod Podge. A few of my magnets ended up a little tacky to the touch, so if you want to avoid that, stick to thin layers. A sealant spray works great too, if you’d rather skip Mod Podge altogether.
Variations to Try
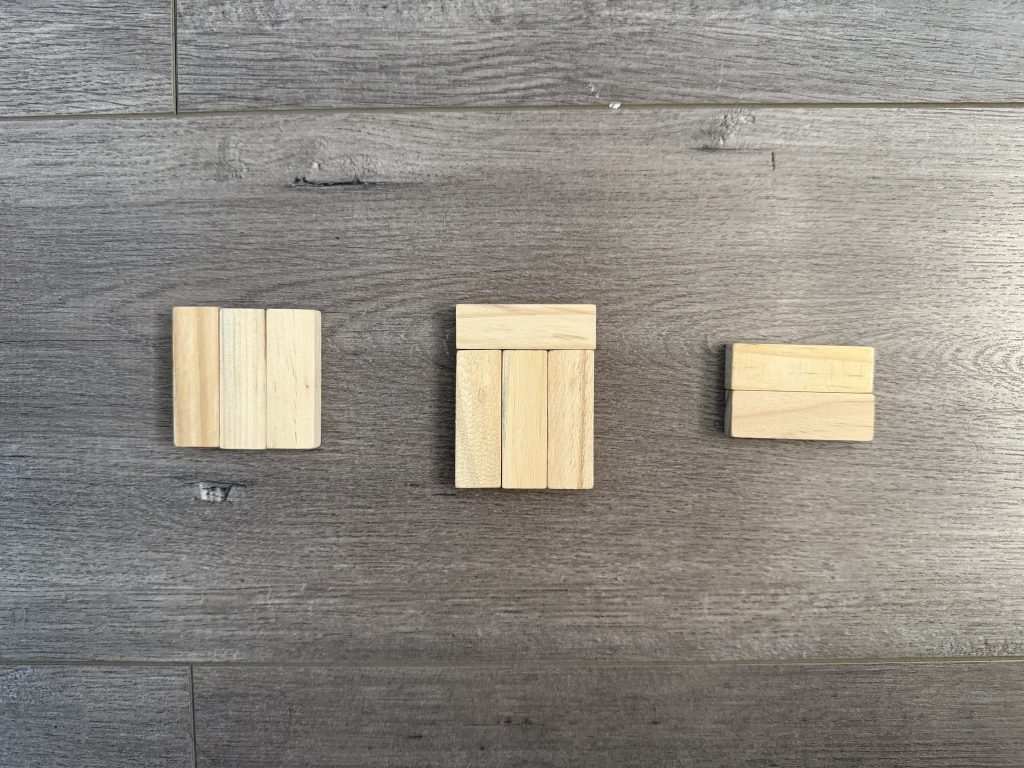
You don’t have to stick with the three-block size. Try two, or go up to four, and see what you like best. You also don’t need mini Jenga blocks at all, this works just as well with any small wooden shape.
If you want to simplify things even more, look for small wooden shapes that are already square (or whatever shape you’re going for). That way, you can skip the gluing step entirely and go straight to adding your image.
Adding Color
You can paint your wooden blocks before attaching the image, if you want to add a little extra personality. I like choosing a paint color that complements the images I’m using. It makes the whole set feel a little more cohesive.
Picking Your Images
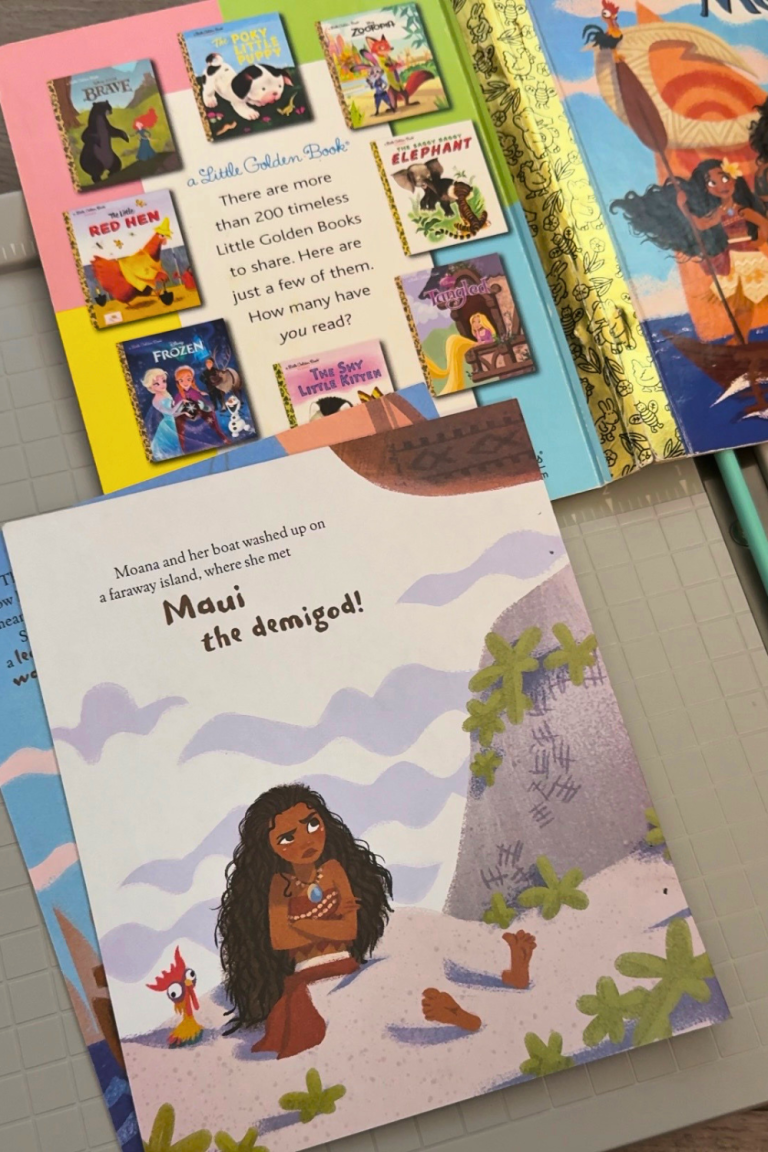
Get creative! Old books, magazines, even old calendars all work great for finding images for your magnets. I went with a Moana theme for my upcycled magnets because I’d thrifted that book and already used it for a couple of other projects, so I had leftover pages just waiting to be used. But this is your project, so make it your own.
You can make just one magnet, or a whole set. Either way, they look really cute displayed on your fridge or on a magnetic board in your office.
Final Thoughts
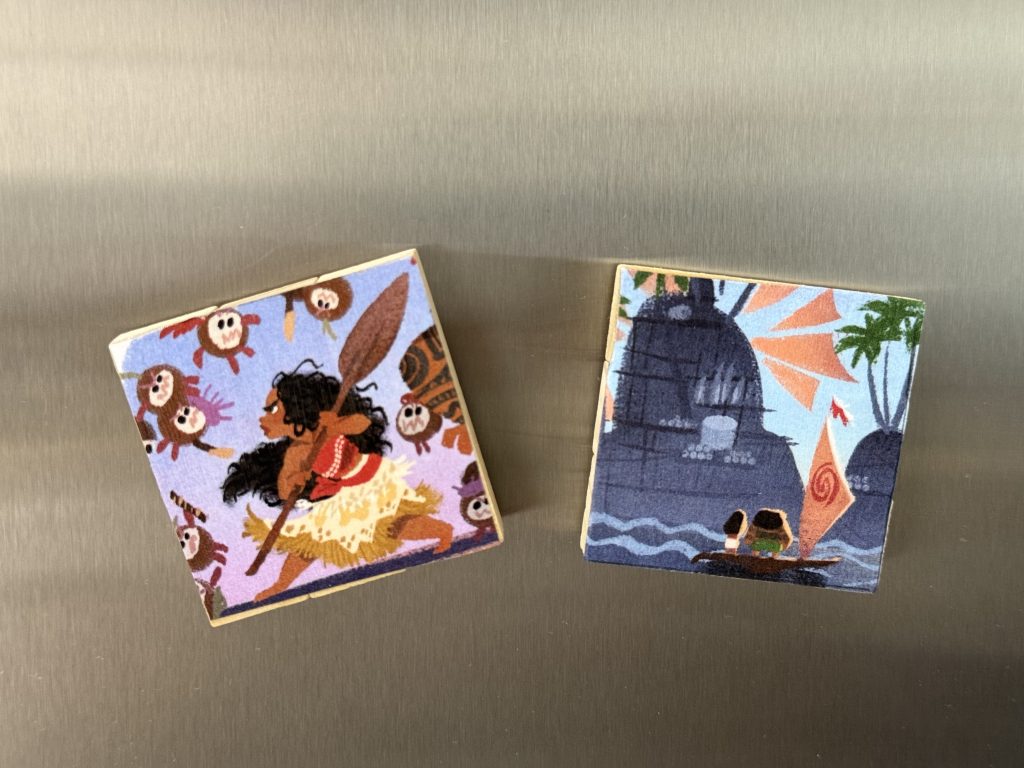
Upcycled magnets are such an easy, low-pressure craft, and they’re a fun way to bring a little personality into your space. Plus, it’s a great project for using up scraps from other projects (like book pages!) instead of letting them go to waste.
Try it out and let me know how it goes!
Loved this idea? Check out other ways to upcycle old children’s books for more inspiration.