How to Attach Patches to Any Bag (Without Sewing)
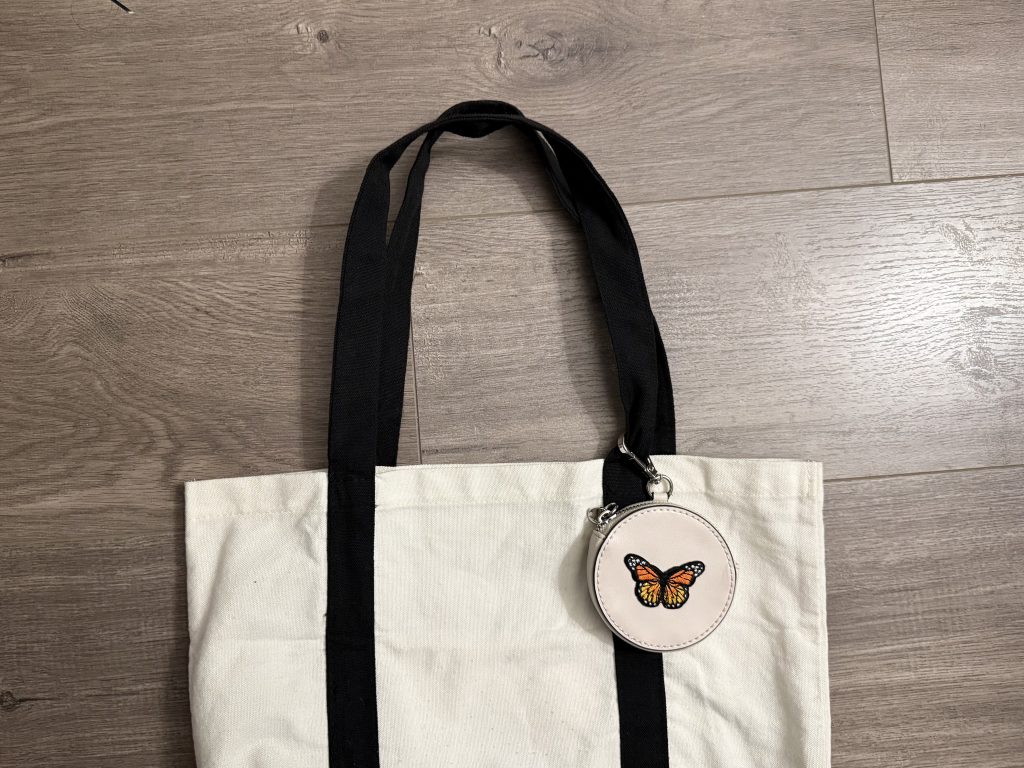
In this post, I’m sharing a no-sew method for attaching patches to bags, plus what I learned the hard way while adding one to a faux leather coin purse.
Affiliate Disclosure: This post may contain Amazon affiliate links. As an Amazon Associate I earn from qualifying purchases, at no additional cost to you. Linked items are what I personally use, but feel free to substitute with your own favorites.
If you’ve got a patch you’re dying to add to a bag, purse, or jacket but don’t own (or don’t want to deal with) a sewing machine, you’re totally not alone. Sewing can feel really intimidating and time consuming if you’re a beginner like I am. Iron-on patches are supposed to make this easy, but as I found out, they don’t always cooperate. Here’s what I tried, what actually worked, and what I’d do differently next time.
My Process
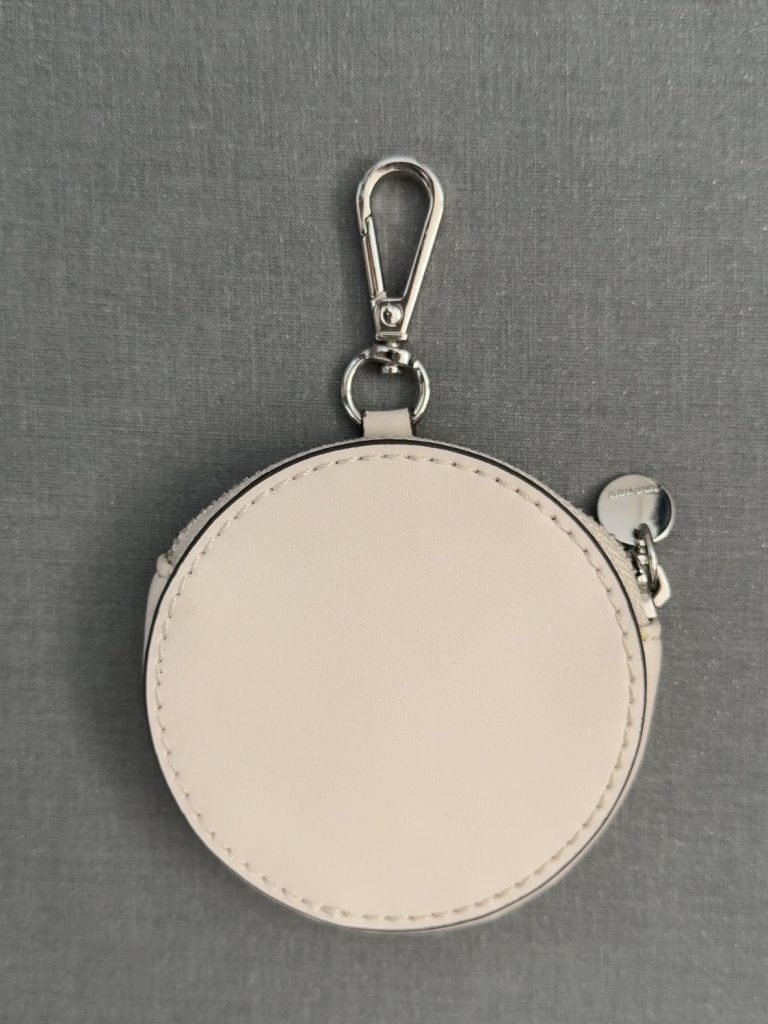
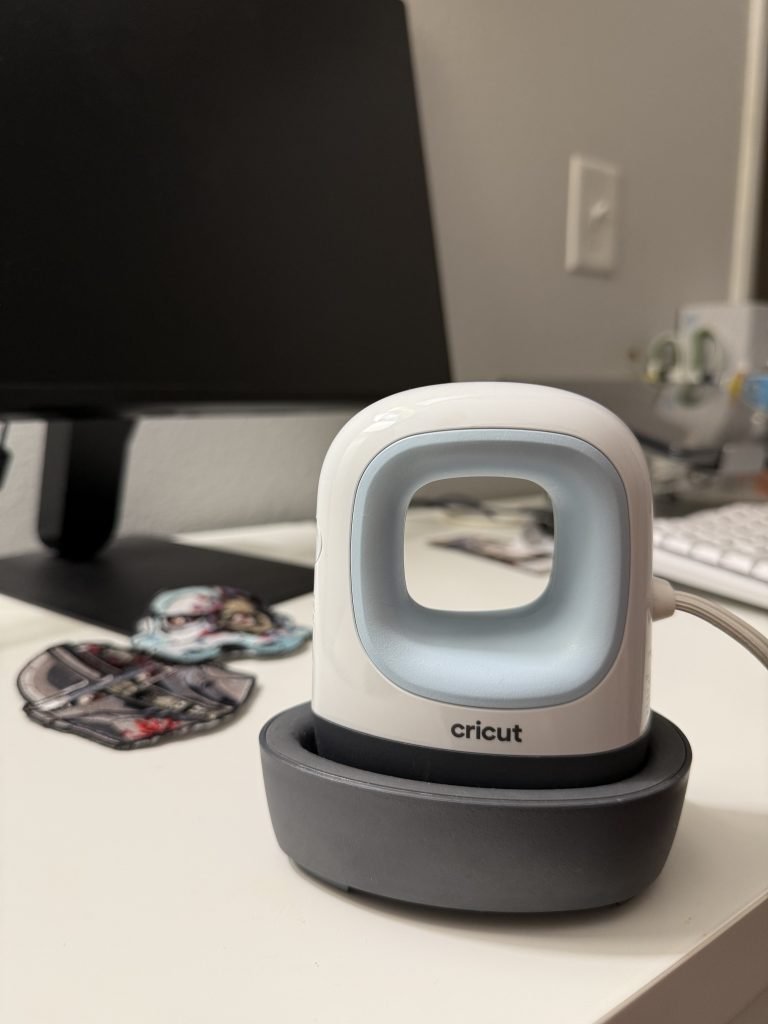
I’ve been working on my forgotten crafts recently, so I went through my stash of patches and dug out the cutest butterfly iron-on patch for a blank faux leather coin purse. I figured it would be a quick, five-minute project. Spoiler: it was not.
I started with my Cricut mini heat press, which I love and have used tons of times to add patches to bags. I tried it a few different times, adjusting the heat and pressure, but I just couldn’t get the patch to stick to the faux leather.
My first thought was that the adhesive on the patch itself was the problem. So I peeled it off and tried adding Heat n Bond instead. Still no luck.
At that point, I considered sewing it on. But honestly, that sounded like a lot of extra work, and the coin purse material was thick and sturdy enough that I knew getting a needle through it would be a struggle.
What Actually Worked
That’s when I remembered I had E6000 on hand. It’s not technically labeled as a fabric glue, but a quick Google search told me that it bonds fabric really well, so I figured it was worth a shot.
Note: This post shares my personal experience using E6000 for my craft project. Always read and follow the manufacturer’s instructions and safety warnings on the product label before use.
Here’s what I did:
- Spread a thin, even layer of E6000 onto the back of the patch
- Carefully placed the patch where I wanted it on the coin purse
- Set a heavy book on top to weigh it down while it dried
And it worked! The patch stayed put, and I finally had my cute little butterfly coin purse.
What I Learned From This Project
Be Flexible
Just because a patch is labeled “iron-on” doesn’t mean you’re locked into ironing it. Using glue instead isn’t cheating, it’s just adapting to what your materials actually need. Crafts don’t always go by the book, and that’s okay.
Be Resourceful
You don’t always need the exact product a tutorial recommends. Before buying a specialty fabric glue, take a look at what you already have. In my case, E6000 (which I mostly use for other craft projects) turned out to be exactly what I needed.
Persistence Pays Off
Sometimes a project that should take five minutes turns into an hour of trial and error, and that’s genuinely part of the process. Just because a method has worked for you before doesn’t guarantee it’ll work every time. In this case, I think the specific texture and thickness of this faux leather just wasn’t compatible with iron-on adhesive, even though I’ve had success with similar patches on other bags before.
Do Your Research First
If I’m being honest, I really could have searched for tips on attaching patches to faux leather before diving in. I ended up using higher heat than I probably should have, which risked damaging the purse. It worked out this time, but a couple of minutes of research upfront could have saved me the guesswork (and the risk).
Quick Tips for Attaching a Patch to Any Bag
Whether you’re working with faux leather, canvas, nylon, or something else entirely, here’s what I’d suggest based on my trial and error:
- Test a small, hidden spot first. Before committing to heat or adhesive, try it somewhere inconspicuous to see how the material reacts. This matters even more with faux leather, vinyl, or anything heat-sensitive.
- Start with lower heat than you think you need. Some materials, especially faux leather, can warp or get shiny under too much direct heat, so ease into it.
- Keep a strong fabric glue on hand. I don’t have a dedicated fabric glue yet, but I’m on the hunt for one! In the meantime, E6000 is a problem solver for patches, embellishments, and other “why won’t this stick” moments, no matter what bag I’m working on.
- Weigh it down while it dries. A heavy book or a stack of coasters works great to keep even pressure on the patch while the glue sets.
- Skip the needle if you want to. Glue works great on bags that are too thick or sturdy to sew through, so don’t feel like sewing is your only backup option.
Final Thoughts
At the end of the day, you don’t need a sewing machine to add a patch to a bag. Glue can absolutely get the job done, no matter what material you’re working with.
This project didn’t go how I expected, but it taught me something I keep coming back to: crafting is rarely about doing things perfectly the first time. It’s about figuring out what actually works for you and your materials, even if that means tossing the so-called rules out the window.
If you’ve ever wrestled with a patch, a piece of vinyl, or any material that just wouldn’t cooperate, I’d love to hear how you solved it. And if you’re about to start a similar project, do yourself a favor and test your materials first. Future you will thank you.
Love this type of content? Watch me work on this patch project plus the other crafts in my finally Making It series?