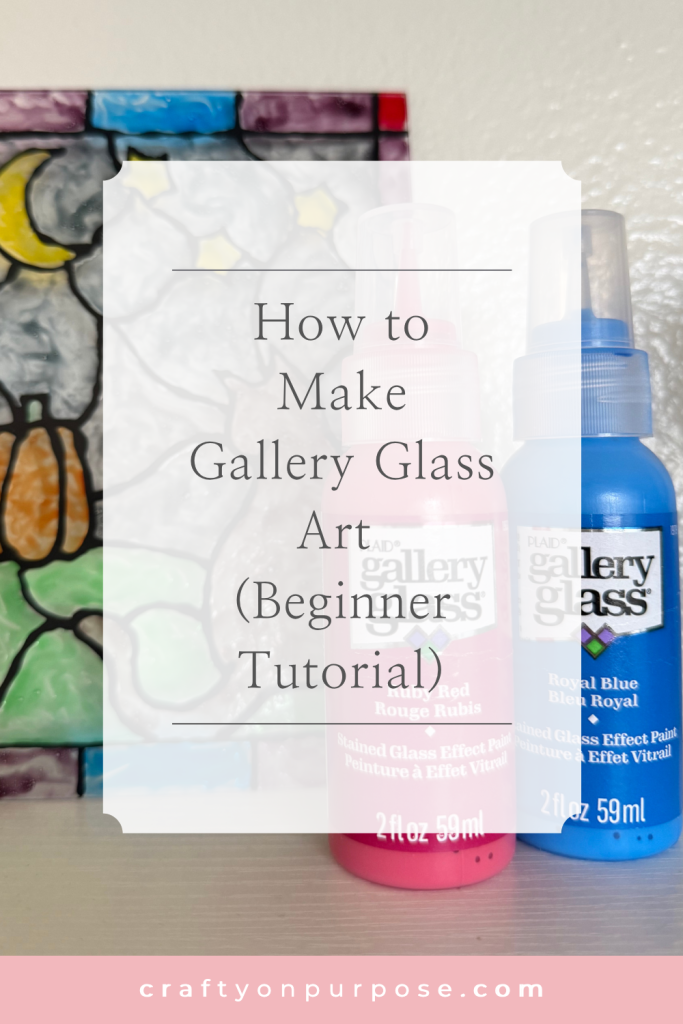
How to Make Gallery Glass Art (Beginner Tutorial)
In this post, I’m sharing everything I learned trying Gallery Glass paint for the first time, so you can skip the trial and error and get straight to the fun part.
Affiliate Disclosure: This post may contain Amazon affiliate links. As an Amazon Associate I earn from qualifying purchases, at no additional cost to you. Linked items are what I personally use, but feel free to substitute with your own favorites.
Gallery Glass is a special paint that lets you create faux stained glass without any actual glass cutting involved (no torches, no sharp edges, no stress). I came across a tutorial on Instagram using Gallery Glass months ago, and I knew I had to try it. So I bought a kit… and then did absolutely nothing with it.
Turns out buying craft supplies and actually using them are two totally different hobbies. The kit sat in my closet collecting dust for months until I finally sat down and gave it a real shot.
Honestly? I wish I’d tried it sooner.
What Is Gallery Glass?
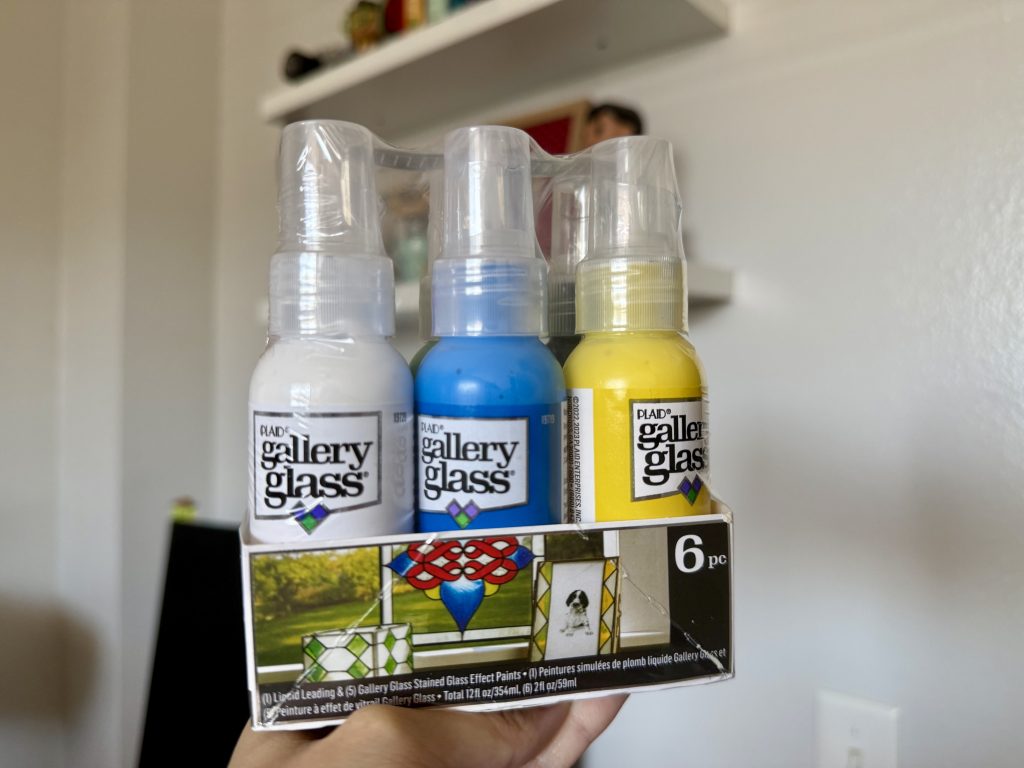
Gallery Glass is a paint specifically designed to create the look of stained glass. It comes in two main parts: a black “leading” paint that creates the outlines (like the metal lines in real stained glass), and colored paints that fill everything in.
Once it dries, the paint has a glossy, slightly translucent finish that genuinely looks like glass. It’s a great option if you love the look of stained glass but don’t want to invest in the tools that real glasswork takes.
Why Try Gallery Glass Painting
When you think of stained glass you might think, that’s way too complicated for me. But the truth is, Gallery Glass transforms stained glass into a craft that feels a lot more approachable. At its core, it’s basically tracing and coloring, so it’s actually a super relaxing craft!
Supplies You’ll Need
- Gallery Glass paints and leading: I used this kit with basic colors since it included both the leading and the paint.
- Glass or acrylic surface: this can be as simple as a basic acrylic sheet or an old glass picture frame.
Optional:
- Paintbrushes: you can squeeze paint straight from the bottles, but since I went with a simple kit with fewer colors, I used a brush to mix shades and paint them on.
- Template: totally optional, since you can freehand your design, but I highly recommend printing or sketching one out if this is your first time.
How to Make Gallery Glass Art: Step-by-Step
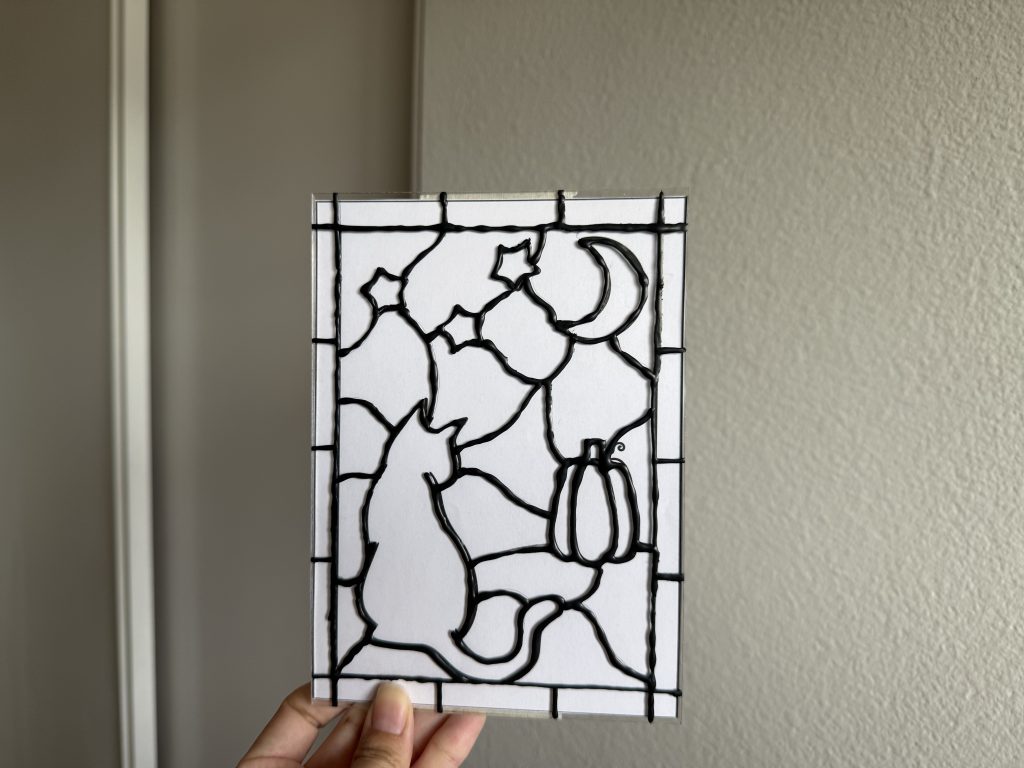
1. Plan out your design. If you’re using a template like I did, tape it to the back of your glass surface and paint on the side facing you. This is the simplest way to do it, whatever side you paint on ends up with the slightly raised, textured look of the leading and paint, while the other side stays smooth.
Remember: Glass doesn’t really have a built-in “front”, it’s just whichever side you paint, and however you choose to display it afterward. If you want the smooth side to be the one people see, you can mirror your template before you start so the design looks correct once you flip the piece around. This only really matters if it includes text or isn’t symmetrical, of course.
2. Outline your design with the leading. This is where you draw the black outlines using the leading paint. Take your time! If this is your first time doing this, your lines might be a little shaky (mine definitely were). I found working in smaller sections made this way less stressful.
3. Let it dry. The bottle says 24 hours, but mine felt dry a lot sooner than that. You really just want to make sure the leading has fully set before adding color, or the two will bleed into each other.
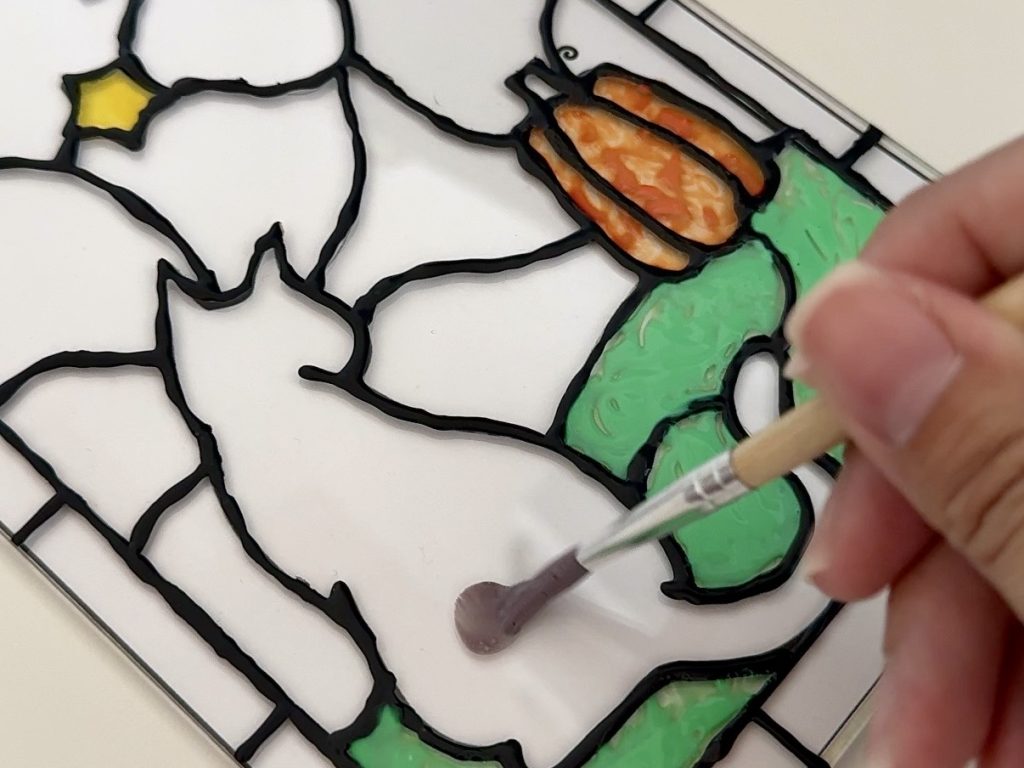
4. Fill it in. Now the fun part — coloring everything in. You can squeeze paint straight from the bottle or use a paintbrush. I personally found it easier to work straight from the bottles, though I did occasionally squeeze too hard and ended up with more paint than I meant to in smaller sections (lesson learned).
5. Let it dry, and you’re done. Once everything is filled in, give it time to fully dry and you’ve got yourself a finished piece of faux stained glass art.
What to Make with Gallery Glass
My first instinct was to make a piece I could frame, but honestly, the possibilities go way beyond that. Any clear, flat surface is fair game. A few ideas to get you started:
- Vases
- Window clings
- Ornaments (I’ll be trying these as we get closer to Christmas, stay tuned!)
- Jewelry boxes
I Made the Mistakes So You Don’t Have To
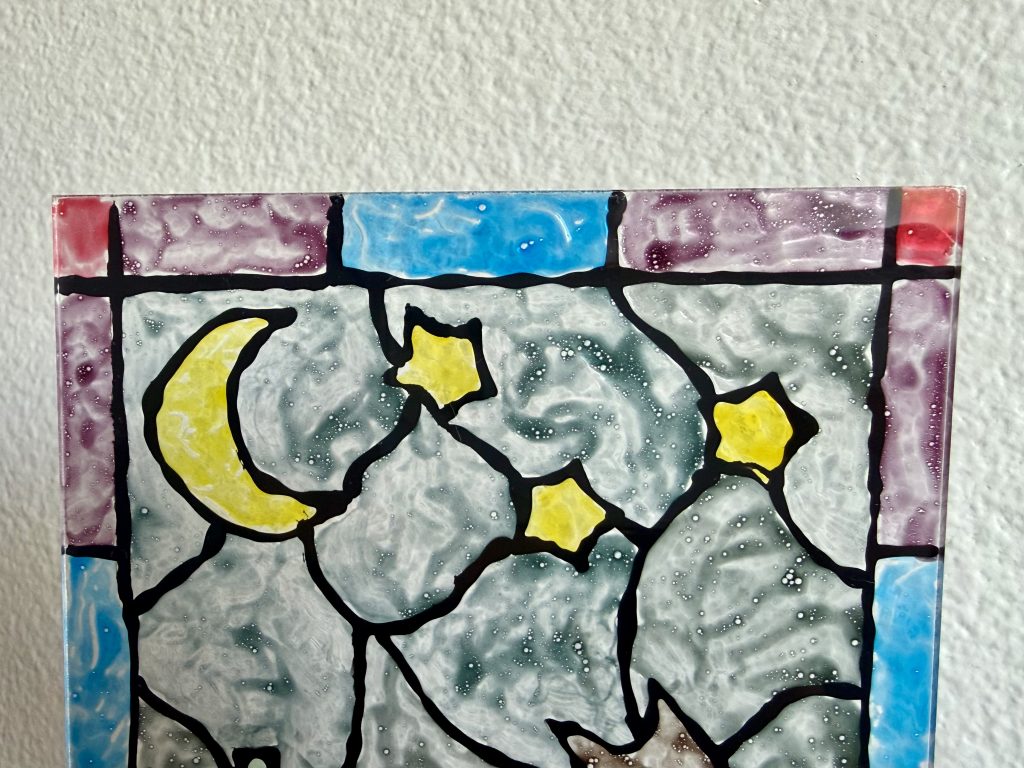
Air Bubbles: As I was brushing on my paint, I noticed air bubbles, but for some reason I didn’t think anything of them. I thought they would disappear as the paint dried… I was very wrong. Although it wasn’t a huge deal for me, it’s good to know that if you want a smooth final product, you need to get rid of those air bubbles when painting, because they will show after your paint dries.
Shaky Lines: It was a lot harder than I expected to get straight lines with the leading. I didn’t do this, but if you want really straight lines you can try using a ruler that you don’t mind getting dirty. Or, if you want to make your life even easier, you might even buy the instant lead lines that are premade, but personally, I don’t mind a little imperfection!
Final Thoughts
Gallery Glass is one of those crafts that looks a lot more intimidating than it actually is. If you’ve got a kit sitting in your closet (no judgment, we’ve all been there), this is your sign to finally pull it out.
Save this post to Pinterest so you can come back to it next time you’re ready to create!