DIY Painted Whiteboard Erasers: Easy Teacher Gift
If you’re looking for an easy DIY teacher gift that you can make quickly, a painted whiteboard eraser is a great place to start!
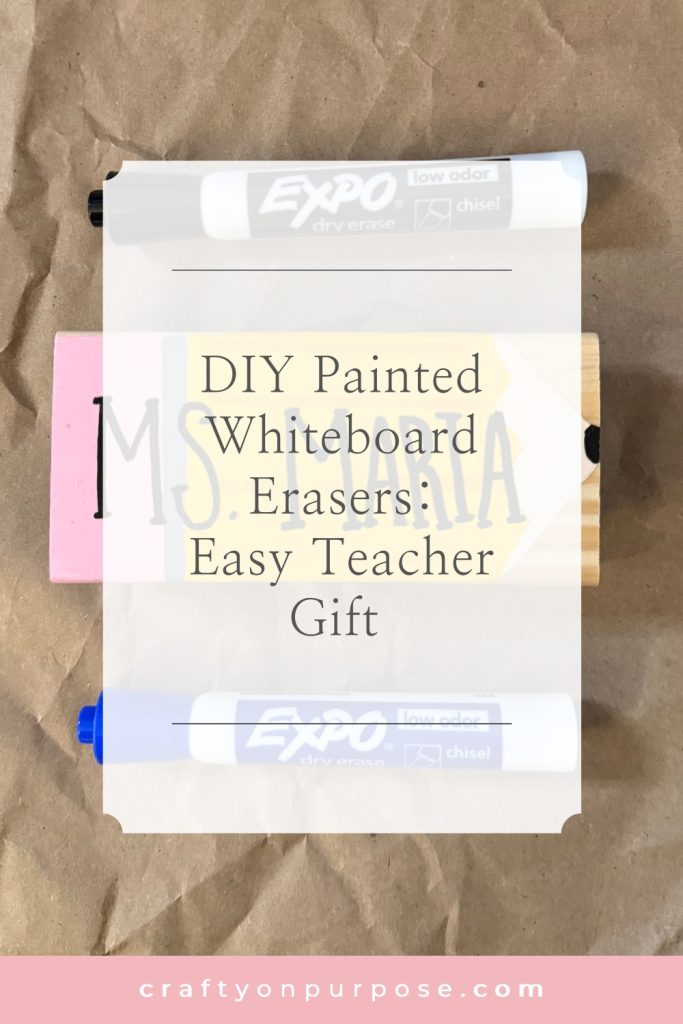
Learn how to make a personalized DIY painted whiteboard eraser teacher gift. This easy, beginner-friendly craft is perfect for teacher appreciation or end-of-year gifts.
What You’ll Need:
Wooden Whiteboard Erasers
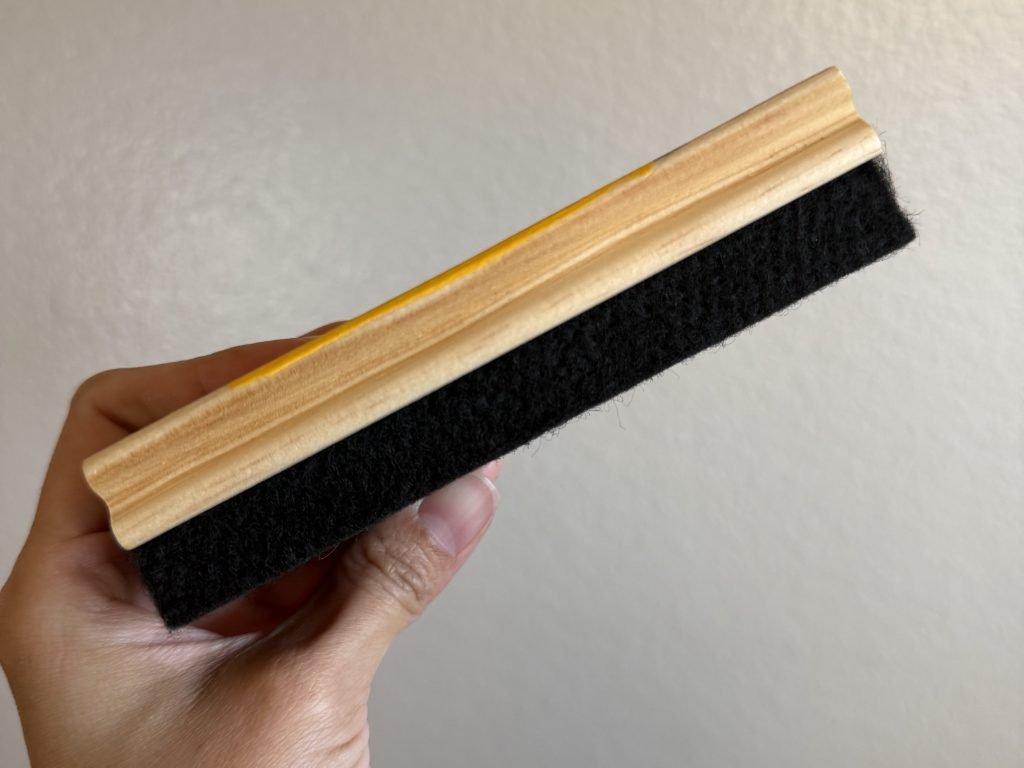
This is the only item on the list that is a little tricky, because these aren’t easy to find in stores. I found mine on Amazon, but I’ve also seen them on Etsy. You want something blank and smooth that you can paint on.
Pencil
You’ll want either a regular pencil or a chalk pencil to sketch out your design on the whiteboard eraser.
Acrylic Paint
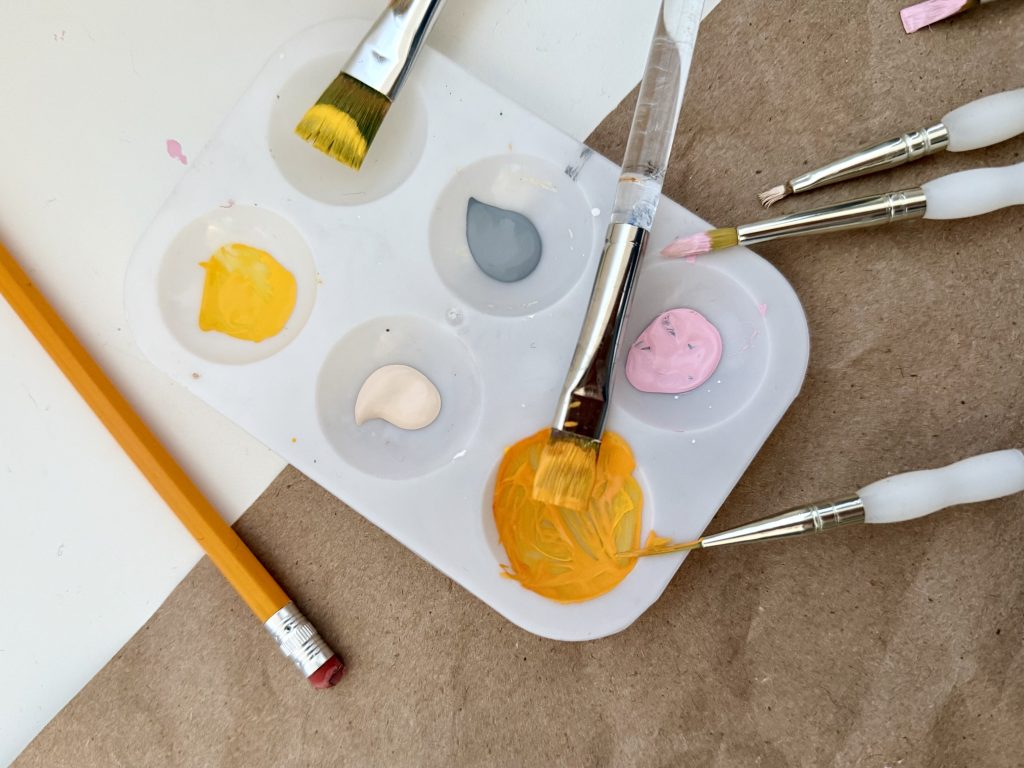
Personally, I use DecoArt and FolkArt paint, but you can use any type of acrylic paint you have on hand. Remember, you can also mix colors if needed!
Paintbrushes
You don’t want to use any brushes that are too large, as the whiteboard erasers are pretty small.
Sealer
You can use a liquid or spray sealer, whatever you prefer. You just want to make sure that the design you paint is protected, because the whiteboard erasers will be handled often.
Optional: Paint Markers
These are my secret weapon as a beginner painter, because lettering with paintbrushes is a lot harder than it looks if you ask me! 😅 I like to make my life easier and use paint markers instead.
How to Make It:
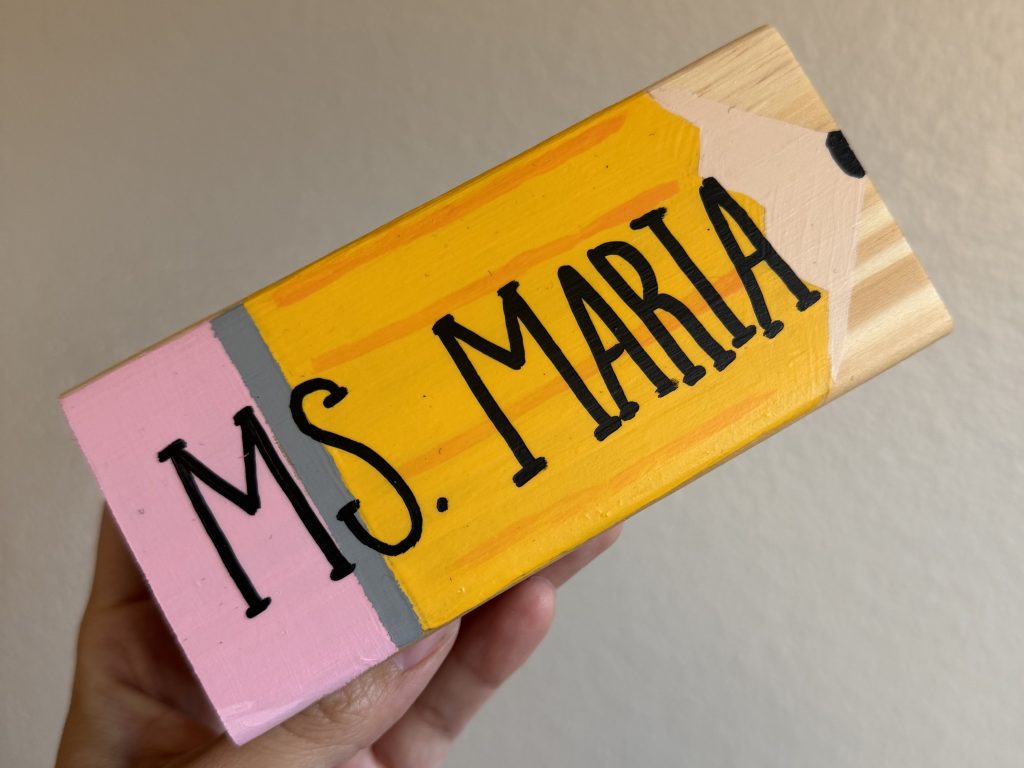
Start by lightly sketching your design onto the eraser. This doesn’t have to be perfect, but it helps to have a guide as you paint, especially if you’re a beginner painter like I am.
Pro tip: A regular pencil works fine, but chalk pencils are even better if you have them.
Once you’re happy with your design, start painting. Take your time and focus on the base design first. After that dries, sketch out the name (if you’re adding one) before painting it on.
I highly recommend sketching the name first! Learn from my mistakes, you don’t want to run out of space halfway through.
Once everything is completely dry, seal your design! This step is important because these will be used daily, and you want your design to last.
Finishing Touches
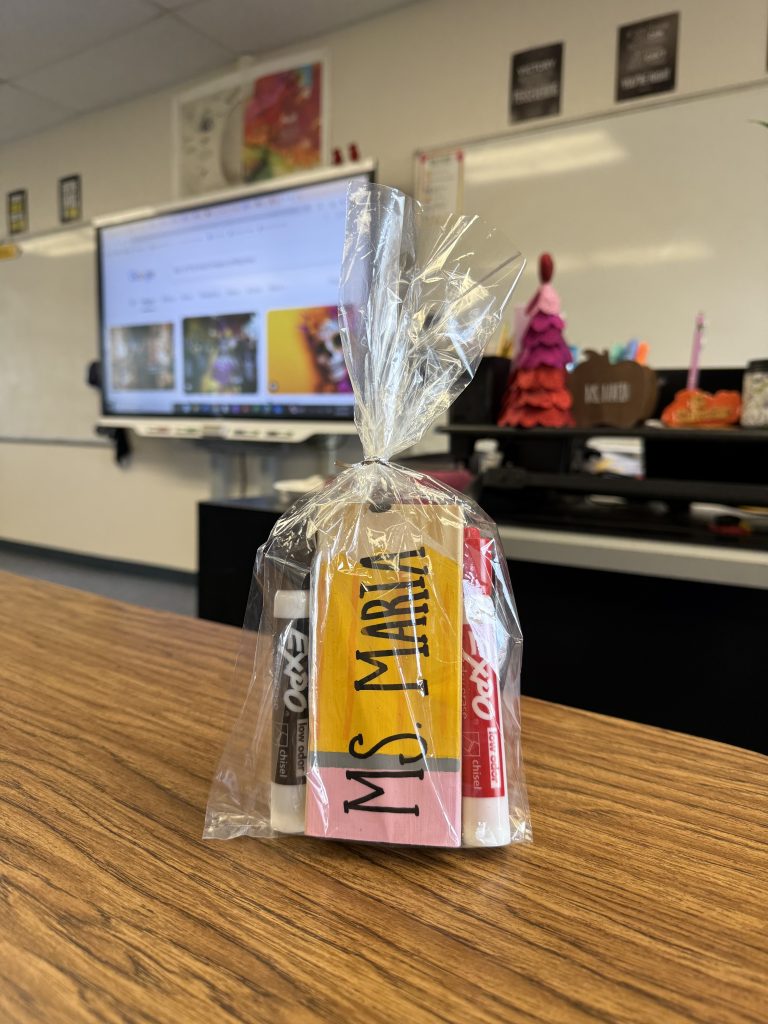
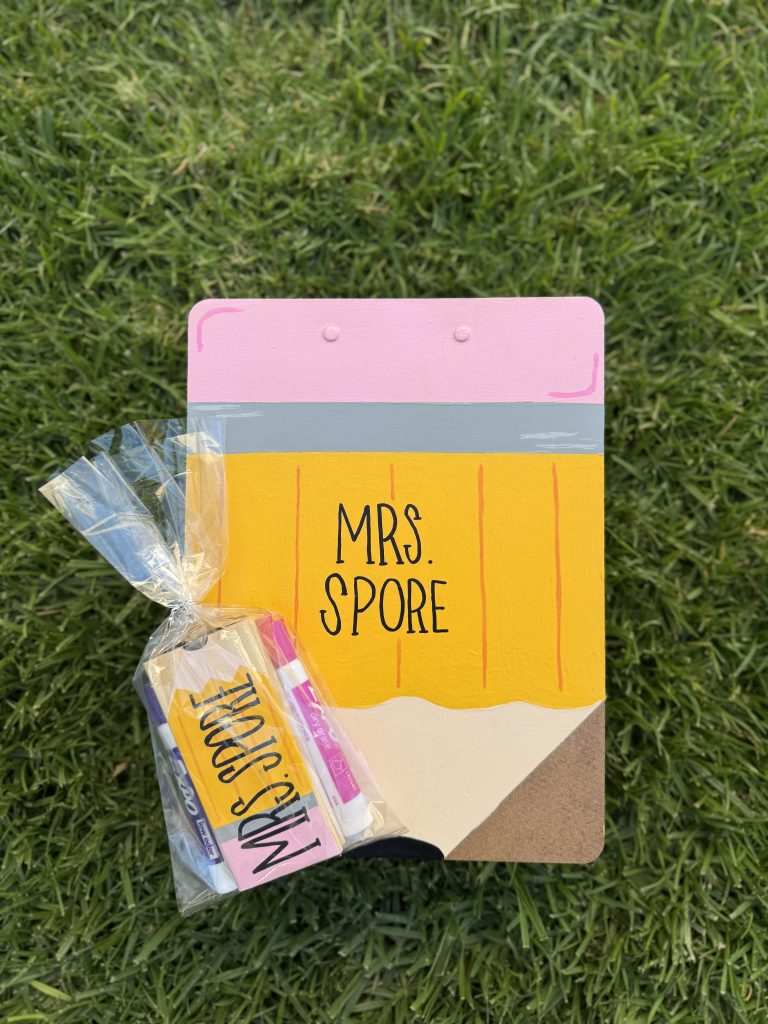
Pair your painted whiteboard eraser with:
- Whiteboard markers
- A small gift bag
- Ribbon and a gift tag for an extra cute touch
This DIY teacher got idea is simple, practical, and really thoughtful.
If this inspired you, check out our other DIY Teacher Gift Ideas!