How to Turn Old Packaging into Handmade Postcards (Easy DIY)
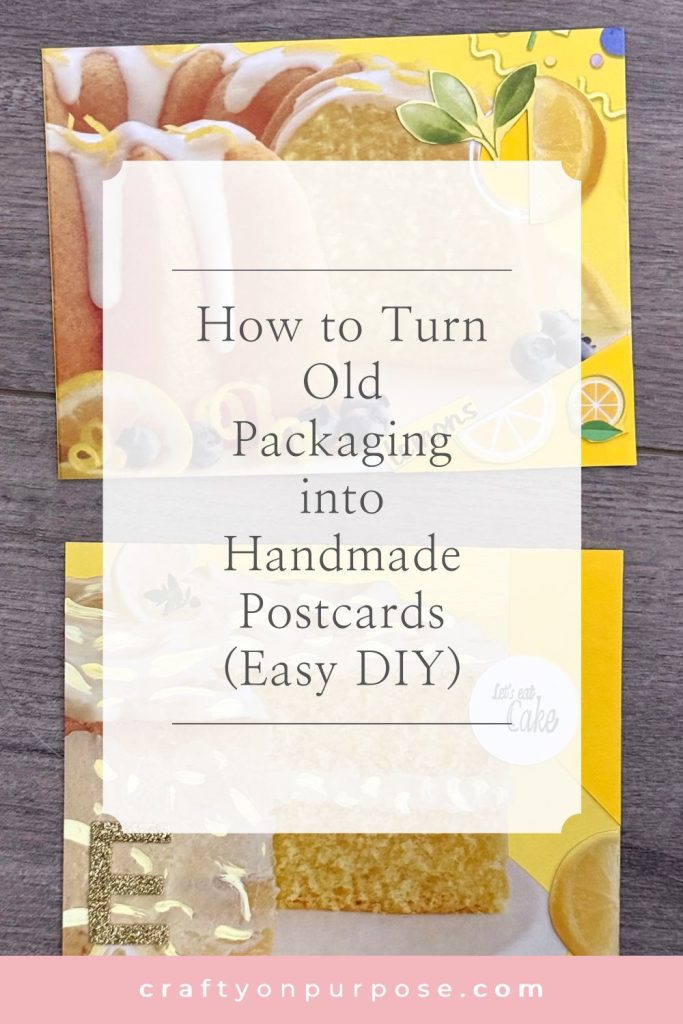
In this post, we’ll walk you through how to turn everyday packaging into upcycled handmade postcards— a simple, creative craft that keeps trash out of the landfill and spreads a little joy in the process.
Affiliate Disclosure: This post may contain Amazon affiliate links. As an Amazon Associate I earn from qualifying purchases, at no additional cost to you. Linked items are what I personally use, but feel free to substitute with your own favorites.
What if the stuff you throw away every day was actually great material for crafting?
I’ve been making postcards out of old food packaging lately, and honestly, I’m a little obsessed. It’s one of those projects that’s quick, low-pressure, and way more fun than I thought it would be. And the best part? The person who gets one in the mail is surprised, in the best way possible.
If you love upcycled craft ideas, this one’s for you.
What Makes Good Postcard Material
Not all trash is created equal when it comes to making postcards. You want to look for thin cardboard, think cereal boxes, cracker packaging, cookie boxes, or soda cases. You want something sturdier than printer paper but thinner than a shipping box. Basically, if it feels similar to the weight of a postcard you’d pick up at a souvenir shop, you’re ready to go.
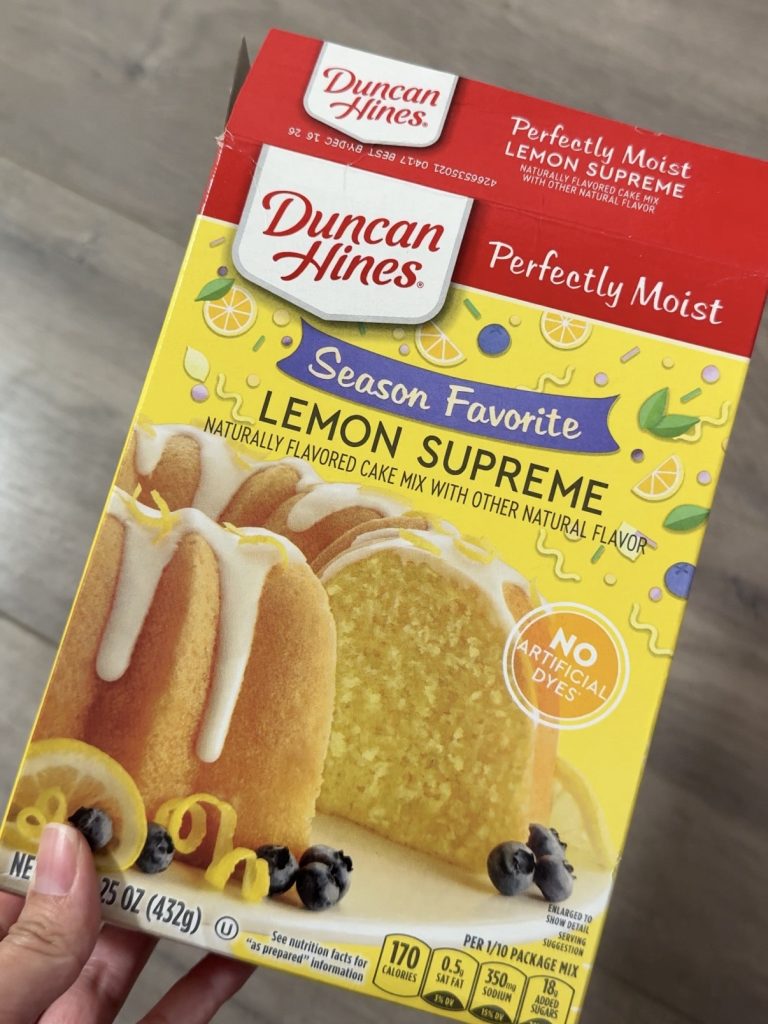
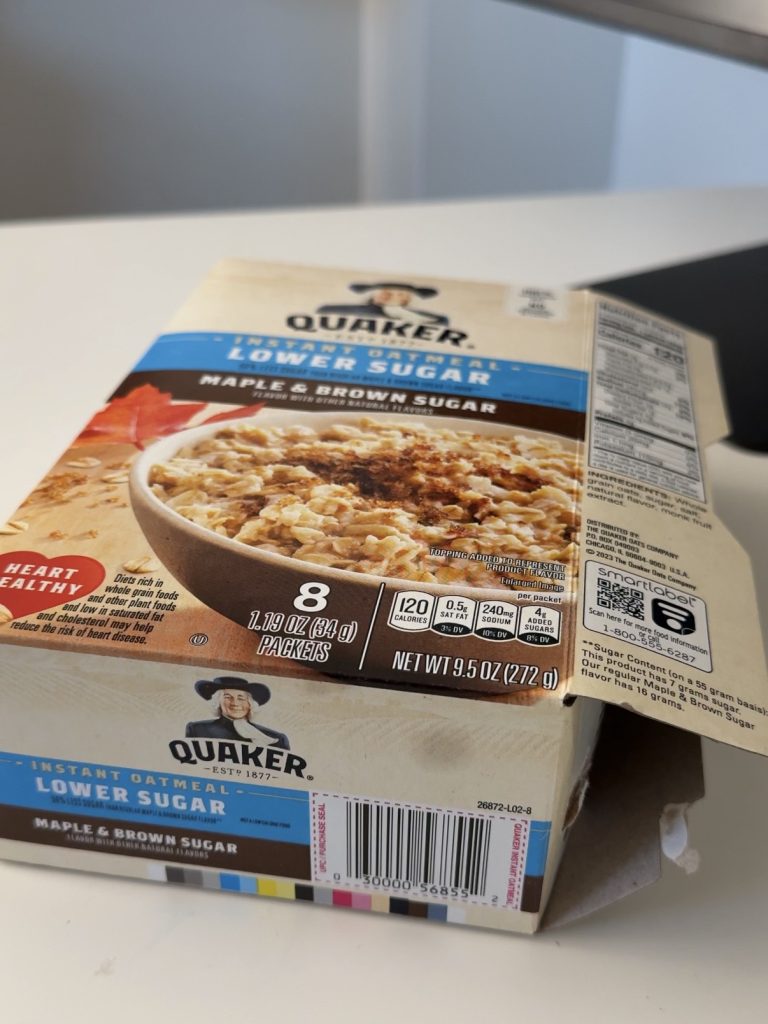
Here’s what to look for:
Size: Bigger is better. You can always cut things down, but you can’t add more cardboard. Tiny boxes won’t give you much to work with.
Surface: Ideally, you want one decorative side and one plain side. The plain side is where you’ll write the address and your note, so having a clean surface there really helps.
Design: This is the fun part, and let me start by saying that the design doesn’t have to be something you love. This isn’t a perfect postcard you’d buy at a souvenir shop. It’s upcycled and imperfect…and that’s the whole point. Some of the most interesting postcards I’ve made came from packaging I wouldn’t have looked twice at otherwise.
Materials You’ll Need
- Thin cardboard from food packaging (cereal boxes, cookie boxes, etc.)
- Pen or marker
- Ruler
- Scissors
- Optional: stickers, paint, cardstock, and glue for extra embellishment
How to Make Upcycled Postcards
Step 1: Take apart your box.
Cut the sides open or carefully pull the box apart at the seams. Lay it flat so you can see the full surface.
Step 2: Pick your design section.
Look at the packaging and find the part you think looks the most interesting. Use that as the front of your postcard. Then grab your ruler and pen and mark out your postcard size.
Step 3: Cut it out.
Cut along the lines you marked. (More on sizing in the next section!)
Step 4: Set up the back.
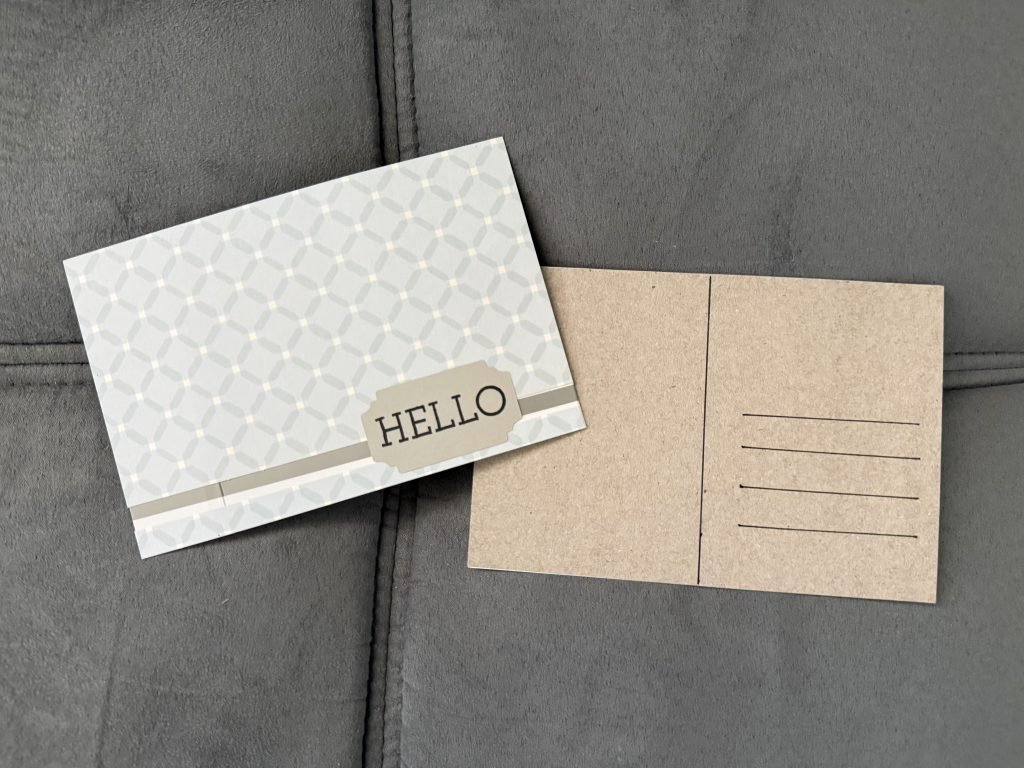
On the plain side, draw a vertical line down the middle. On the right half, add a few horizontal lines for the mailing address. The left side is where your message will go.
Step 5: Embellish if you want to.
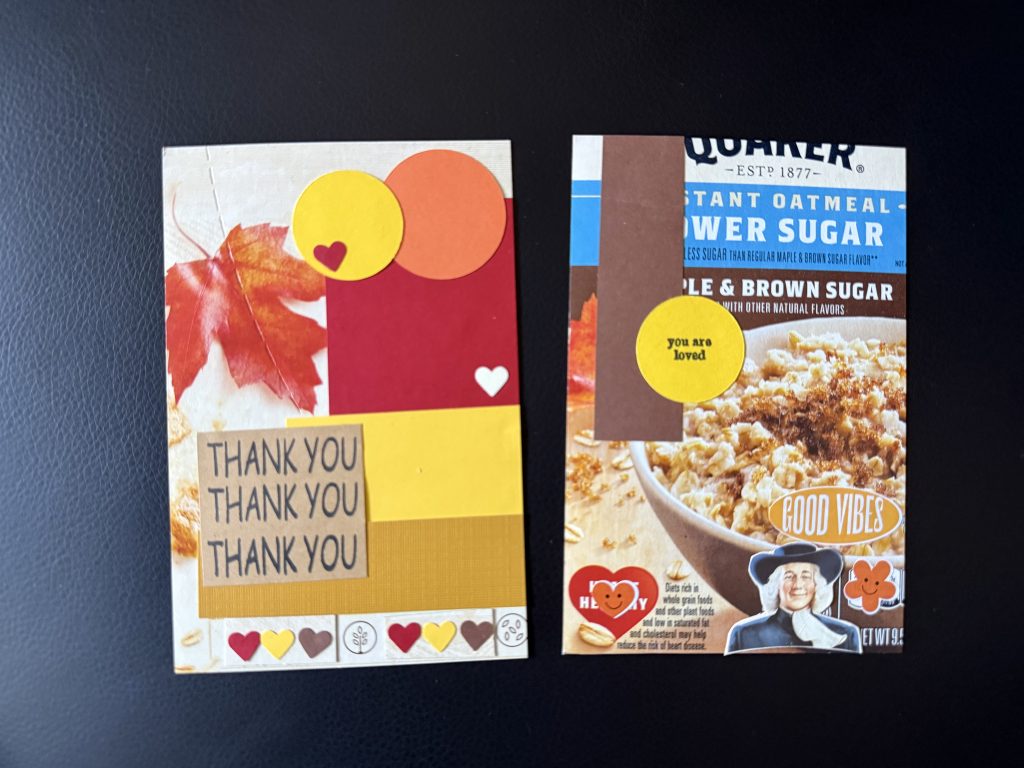
If you’re happy with the packaging design on the front, you’re totally done. But if you want to get a little more creative, this is where you can add stickers, paint, or paper cutouts.
Don’t love the packaging design? No problem. You can glue a piece of cardstock over the front and decorate it however you want. I did this with a postcard I made from a cookie box— the nutritional label wasn’t exactly the vibe I was going for, so I covered it and made a little collage instead.
How to Actually Mail Your Handmade Postcards
This is the part that you might not think about, but it’s actually really useful to know.
USPS postcard size requirements determine whether you can use a postcard stamp (which is cheaper than a regular forever stamp) or need to upgrade.
To mail with a postcard stamp, your postcard must be:
- At least 3½” x 5″
- No more than 4¼” x 6″
- Between 0.007″ and 0.016″ thick
A 4×6 postcard is my go-to, because it feels like the perfect size. (But to be honest, I often end up using a forever stamp anyway because I just love all the cute designs.)
Want to make something a little bigger? You can go up to 6⅛” x 11½” x ¼” thick, but you’ll need a regular forever stamp instead.
One more tip: handmade postcards with thick embellishments or uneven surfaces may cause issues at the post office. If you’re adding a lot of texture to the front and are unsure about something, it’s worth asking at the counter before you send it on its way.
Who to Send Your Postcards To
Once you’ve made a stack of postcards, it’s time to figure out who gets them.
Friends and family are always a great option because happy mail is genuinely underrated. But if you to give your upcycled postcards and even bigger purpose, I love making these for Love for Our Elders. They’re a nonprofit that helps combat loneliness in elderly individuals who could use a little extra connection. Your crafts can help bring a smile to someone’s face, so that small craft can actually mean a lot!
You can also look into other pen pal or mail-based nonprofits. There’s tons of organizations out there, so find one that supports a cause that matters to you.
Final Thoughts
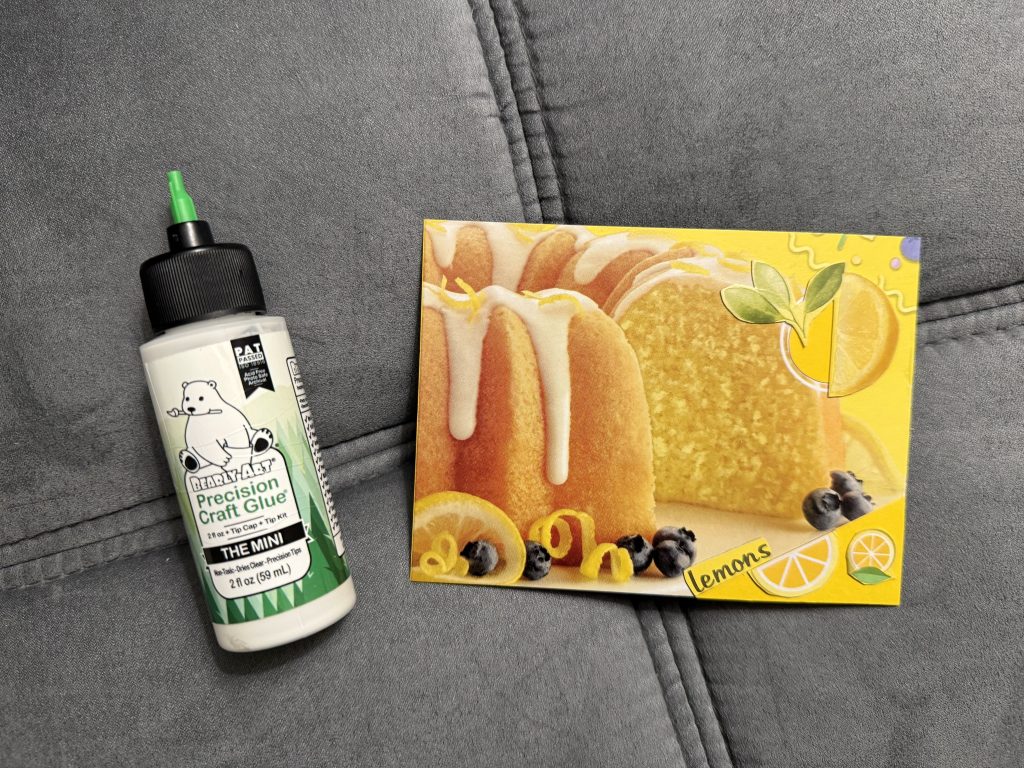
Making upcycled postcards from food packaging is one of those crafts that’s simple on the surface but actually kind of meaningful. You’re keeping something out of the landfill, making something with your hands, and then using it to let someone know you thought of them. That’s a pretty good return on a cereal box.
Next time you’re about to toss out some packaging, take a second look. You might be holding your next postcard.
If you love easy upcycled craft ideas, check out How to Make DIY Dog Toys From Old T-Shirts— another simple project that keeps things out of the landfill and can even be donated to a good cause!
Love this idea? Save it on Pinterest so you can come back to it when you’re ready to make your first batch!