How to Make Greeting Cards from Children’s Books (Easy DIY)
In this post, I’ll show you how to make handmade greeting cards from old children’s books, using simple supplies and a few easy layout ideas.
Affiliate Disclosure: This post may contain Amazon affiliate links. As an Amazon Associate I earn from qualifying purchases, at no additional cost to you. Linked items are what I personally use, but feel free to substitute with your own favorites.
I love turning old children’s books into cards. The illustrations are colorful and nostalgic, and honestly, they make the cutest handmade cards. Plus, you end up with something one of a kind that feels way more thoughtful than a store-bought card.
If you’ve never made your own cards, don’t worry. This is a really beginner-friendly project.
Why Craft with Old Children’s Books?
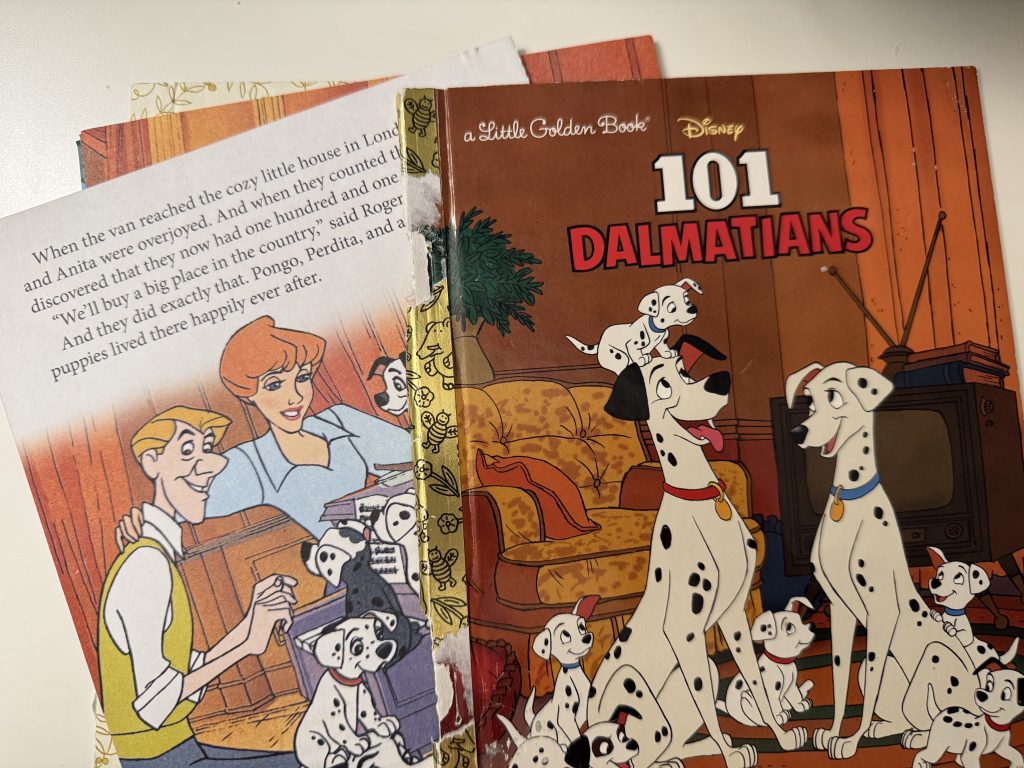
Sometimes you have meaningful books you can’t bring yourself to get rid of, but you still want to give them a new purpose. Cards are a great way to do that, because you can take your favorite illustrations and actually share them with someone.
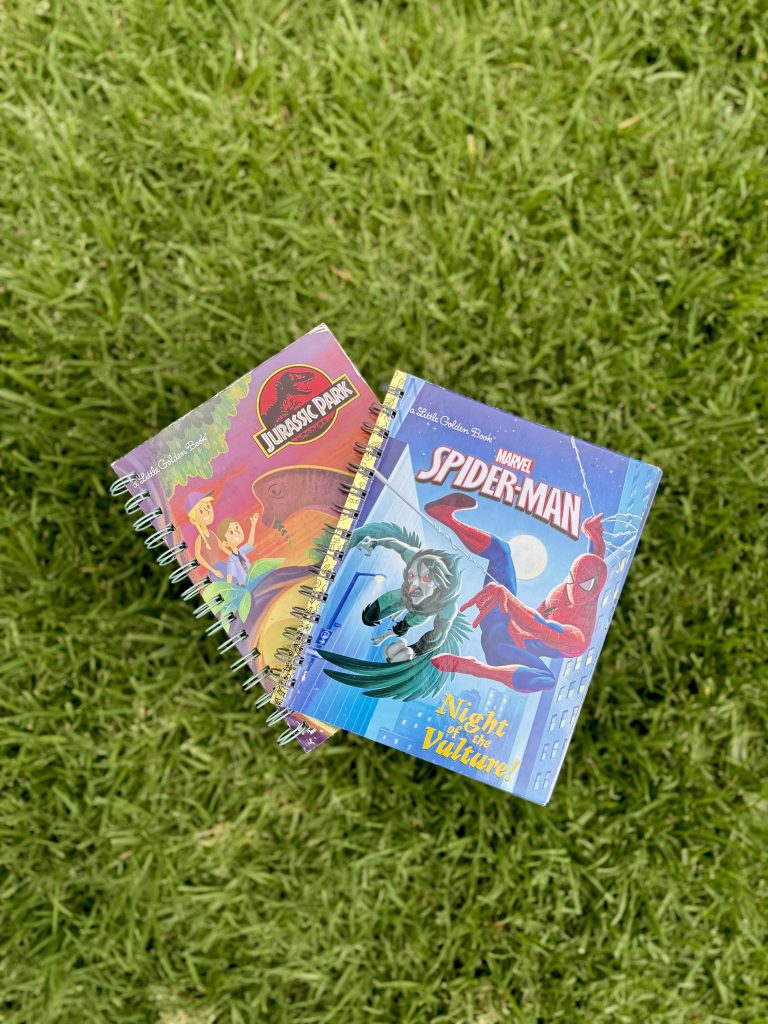
Maybe your books aren’t in great shape anymore. They might have torn pages, scribbles, or a cover that’s seen better days. That makes them hard to donate, but totally perfect for crafting. Instead of tossing them, you can save the best pages and give them a second life.
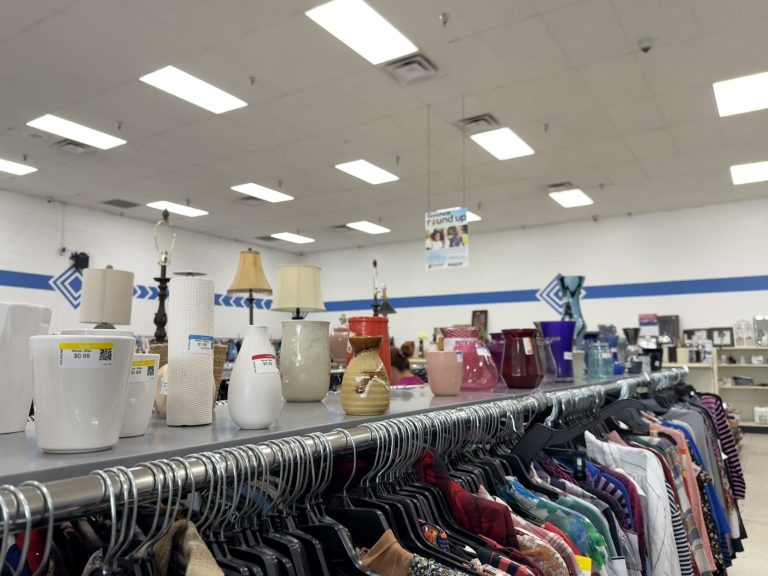
Quick tip: Don’t have any old books on hand? Thrift stores and yard sales are full of them!
Supplies You’ll Need
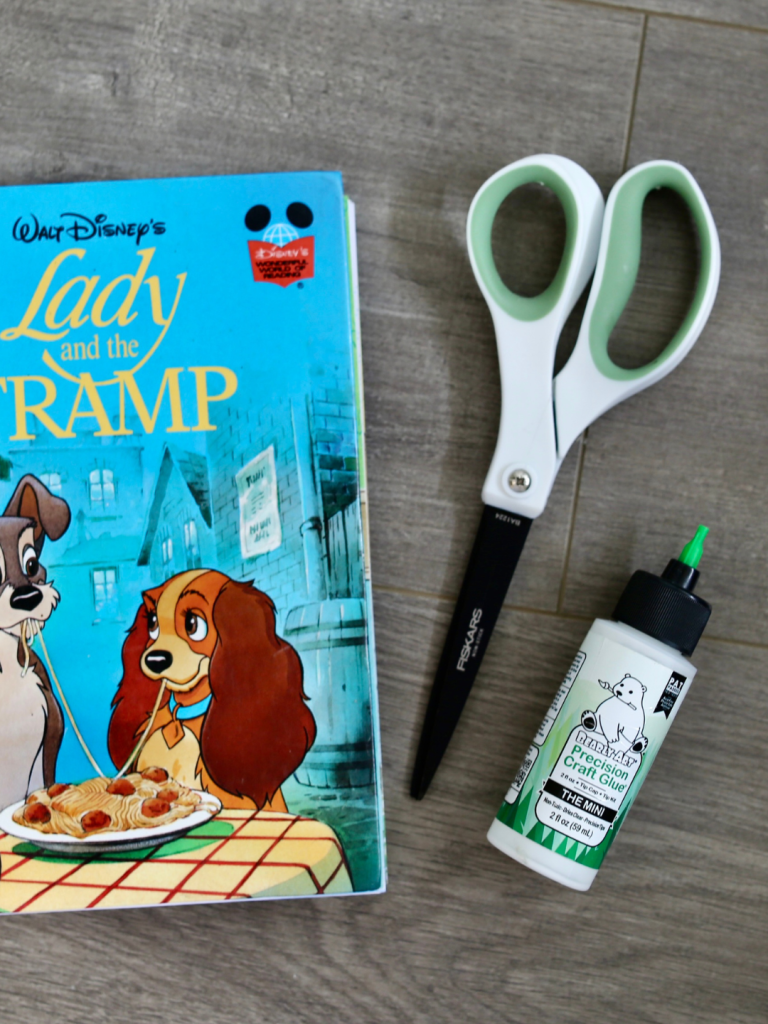
- Cardstock (an 8.5×11 sheet makes two cards)
- An old children’s book (or a few!)
- Scissors or a paper trimmer
- Craft glue or double-sided tape
- 3D Adhesive foam (optional, but fun)
- Envelopes (premade or handmade)
How to Make Greeting Cards from Children’s Books
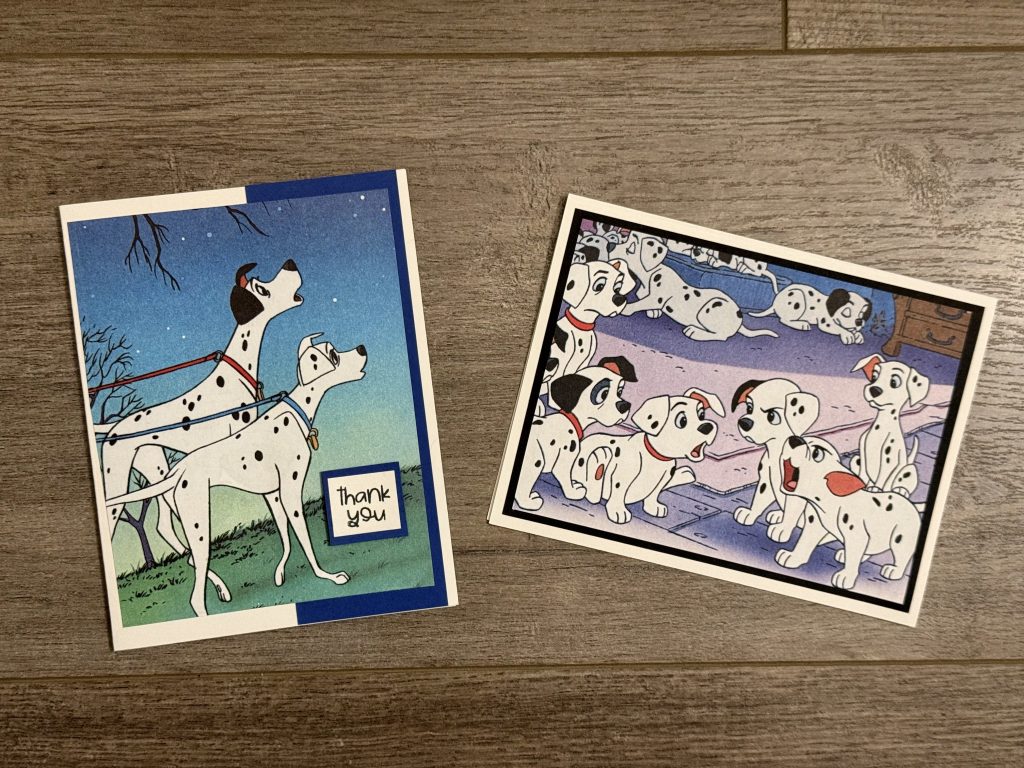
Step 1: Make Your Card Bases
Lately, I’ve been using one 8.5×11 sheet of cardstock to make two A2-sized cards (4.25×5.5 inches). Cut the sheet in half “hamburger style,” then fold each piece in half.
You can totally make your card bases any size you like, or skip this step and just use premade blank cards. Do what works for you!
Step 2: Choose Your Image and Layout
Next, flip through your book and pick the image you want to use. Then think about how you want the card to look.
If you want to keep things simple and let the image be the star of the show, cut a large rectangle that’s slightly smaller than your card base. That’s it. Done.
Step 3: Cut Your Extra Pieces
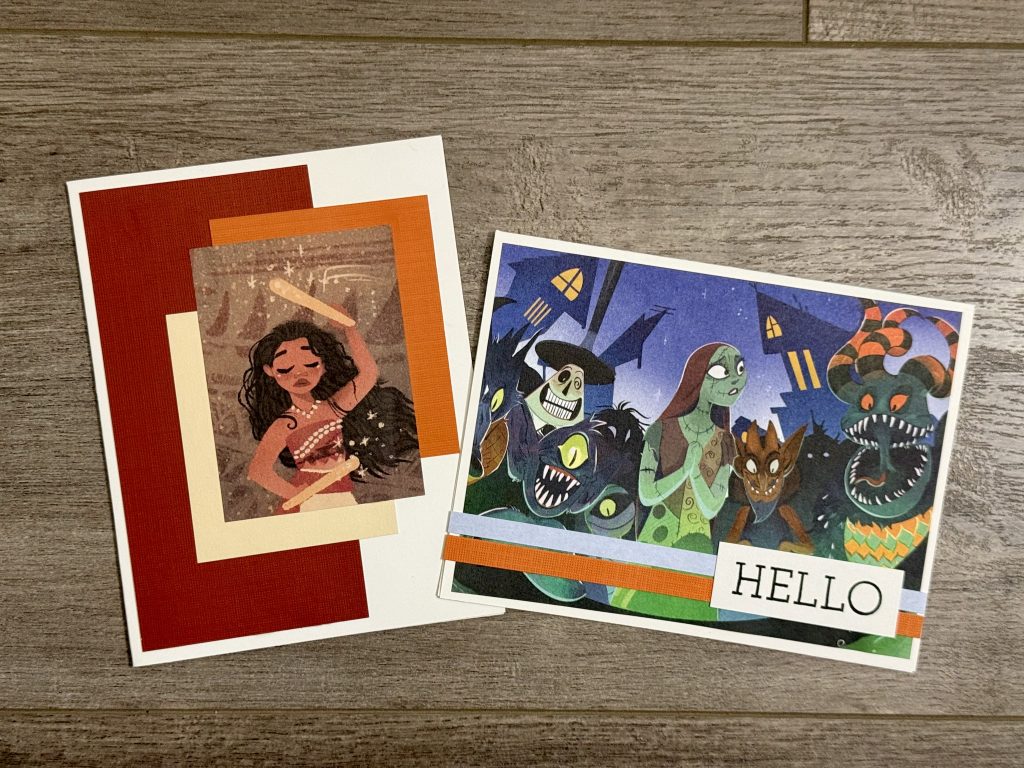
If you want to dress it up a bit, get crafty with your cardstock. When I want something easy, I love adding a solid color rectangle behind the book image to frame it. If I want to make things more interesting, layering is really fun.
I also cut a few small embellishments if I want to add text, like a “Happy Birthday” or “Thank You.” Rectangles, triangles, and circles work great for this, but you can get as creative as you want. I even like to make these in bulk sometimes, so that I have them on hand and ready to go when making cards.
Step 4: Assemble Your Card
Now for the fun part. My go-to supplies for card making are Barely Art craft glue and the double-sided tape I listed above. Both are easy to work with, but double-sided tape runners are the best for beginners who just want something easy.
If you want to give your card some dimension, 3D foam tape is a great thing to have on hand. Popping the image or a small embellishment up off the card makes it look like you bought the card, even if you’re a total beginner. Check out my other favorite items for personalizing handmade cards.
What About the Envelopes?
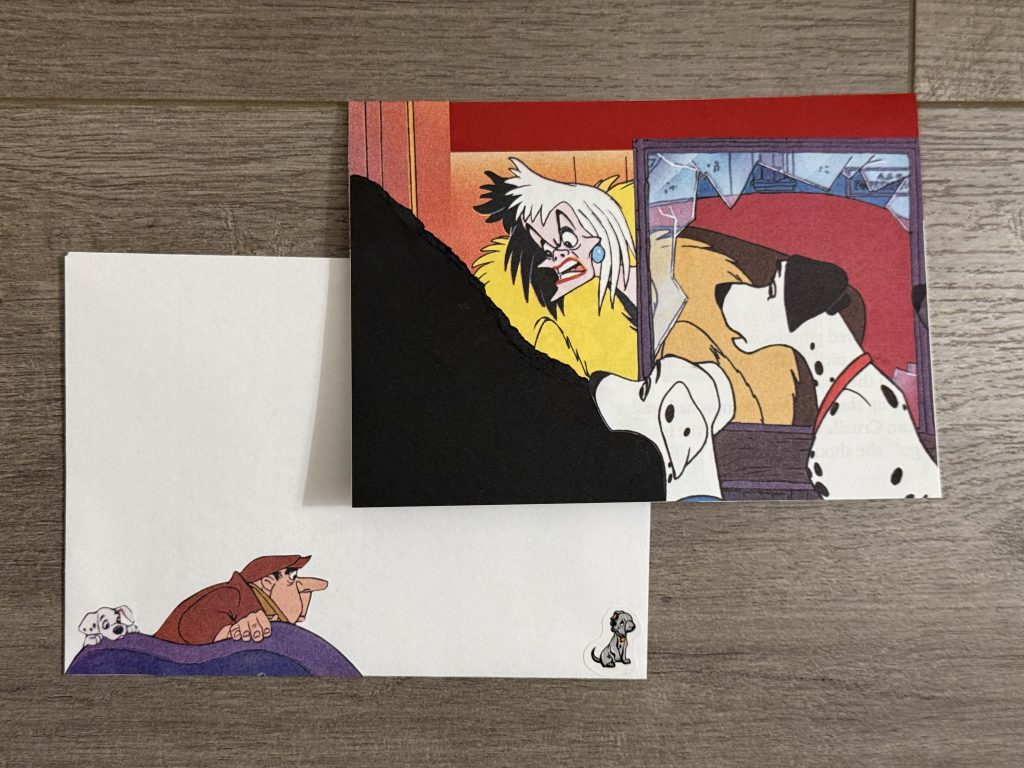
You can use premade envelopes, or make your own. When I have the time, I love making envelopes with my Cricut. I also recently got a scoring board, which is a really budget-friendly option if you don’t have a cutting machine.
You can make your envelope from a color that matches your card, or go one step further and use another page from the same book. It’s such a cute way to tie the whole set together.
Card Ideas to Try
Not sure where to start? Here are a few easy ways to use your book pages:
- Birthday cards: Pick a bright, playful illustration and add a small “Happy Birthday” label.
- Thank-you cards: Use a simple, sweet image with a solid cardstock frame.
- Cards for a specific person: Find a book they loved as a kid. Bonus points if it’s one they’d recognize right away!
- Holiday cards: Look for winter scenes, pumpkins, or hearts, depending on the season.
Final Thoughts
Making greeting cards from children’s books is such an easy way to turn old, damaged, or sentimental books into something useful. You don’t need fancy tools, and no two cards will ever look exactly the same.
If you love this idea, you might also like my post on 7 creative ways to upcycle old children’s books. And if you make your own cards, I’d love to see them!
Save this post on Pinterest so you can come back to it when you’re ready to craft!