How to Upcycle a T-Shirt Into a Tote Bag (Easy DIY Tutorial)
In this post, I’m sharing how to upcycle an old t-shirt into a tote bag you’ll actually use, with no fancy skills required.
I can’t be the only one with way too many t-shirts I never wear, right?
But here’s the thing, I don’t always want to donate them because sometimes I still think they’re great shirts! For example, my Level Up Latina t-shirt. The design is awesome, but it honestly just wasn’t getting worn with so many other t-shirts in my closet. Instead of taking it to the thrift store, I decided to give it a new life as a tote bag.
This project is part of my Finally Making It series, where I’m working through all the crafts that have been collecting dust in my craft room. I’ve had this blank tote bag for so long, and honestly, this was the perfect excuse to finally use it.
If you want to upcycle a t-shirt into a tote bag, keep reading because this is a really beginner-friendly way to do it. You’re basically making one giant patch.
Why Upcycle a T-Shirt Into a Tote Bag
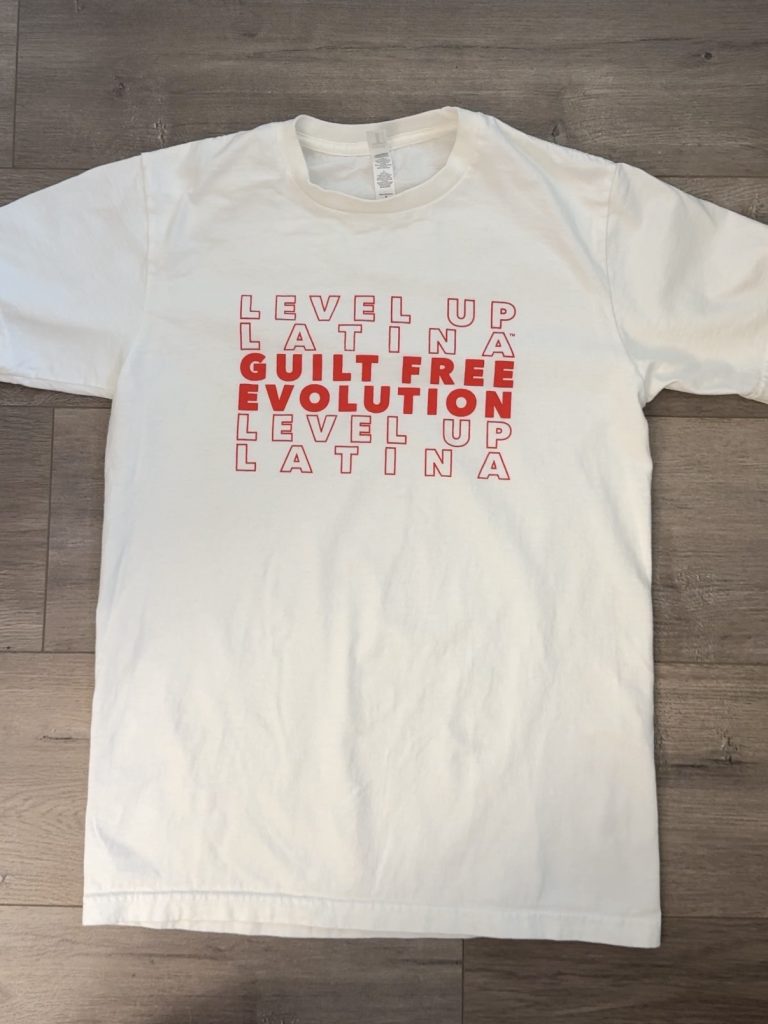
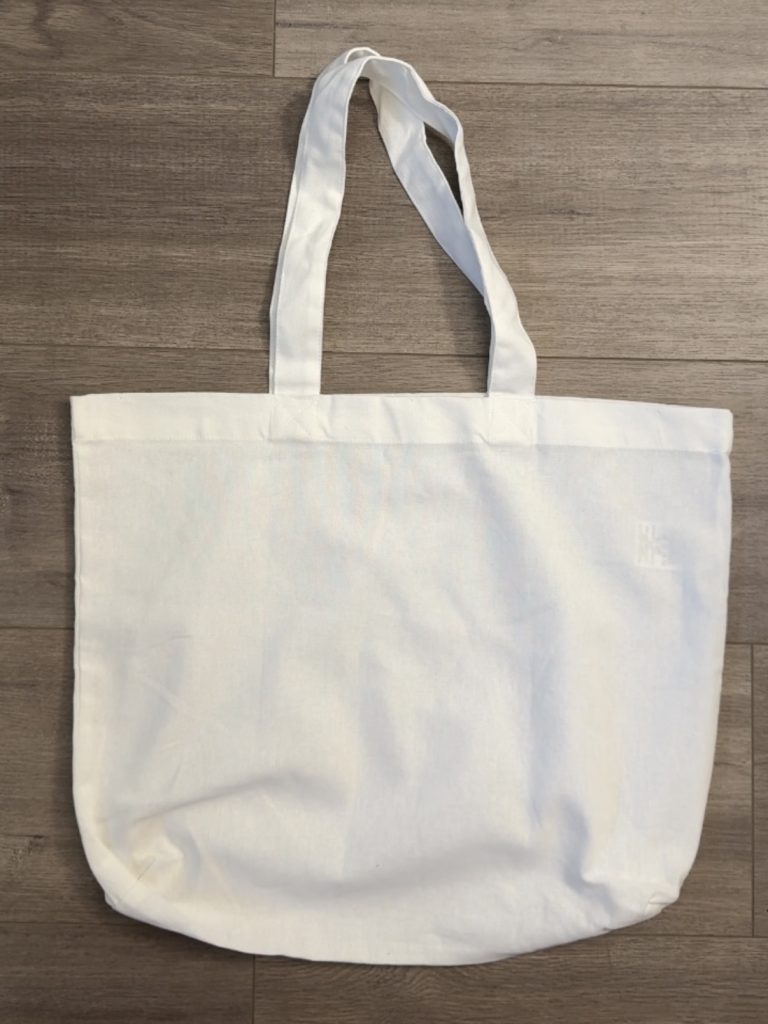
This is perfect for t-shirts where you love the design but aren’t wearing the shirt anymore.
Maybe it has a small stain. Maybe it doesn’t fit the way it used to. Or maybe you’re just decluttering and can’t quite say goodbye to a shirt that holds a lot of memories.
Turning it into a tote bag lets you keep the part you love and actually use it. Plus, you’re keeping one more thing out of the donation pile (or worse, the trash).
What You’ll Need
- T-shirt with a design you like
- Pen (a heat-erasable pen is optional, but so cool!)
- Solid color tote bag
- Fabric scissors
- Heat n Bond
- Heat press or iron
- Sewing machine, or a needle and thread
How to Make a T-Shirt Tote Bag
1. Choose your Design: Take your t-shirt and decide which section you want to cut out and apply to your bag. Lay it flat and look at the design as a whole.
2. Draw and cut your patch: Use your pen to draw around the area you want, then cut it out with your fabric scissors. I kept it simple and cut one big rectangle around the entire t-shirt’s design.
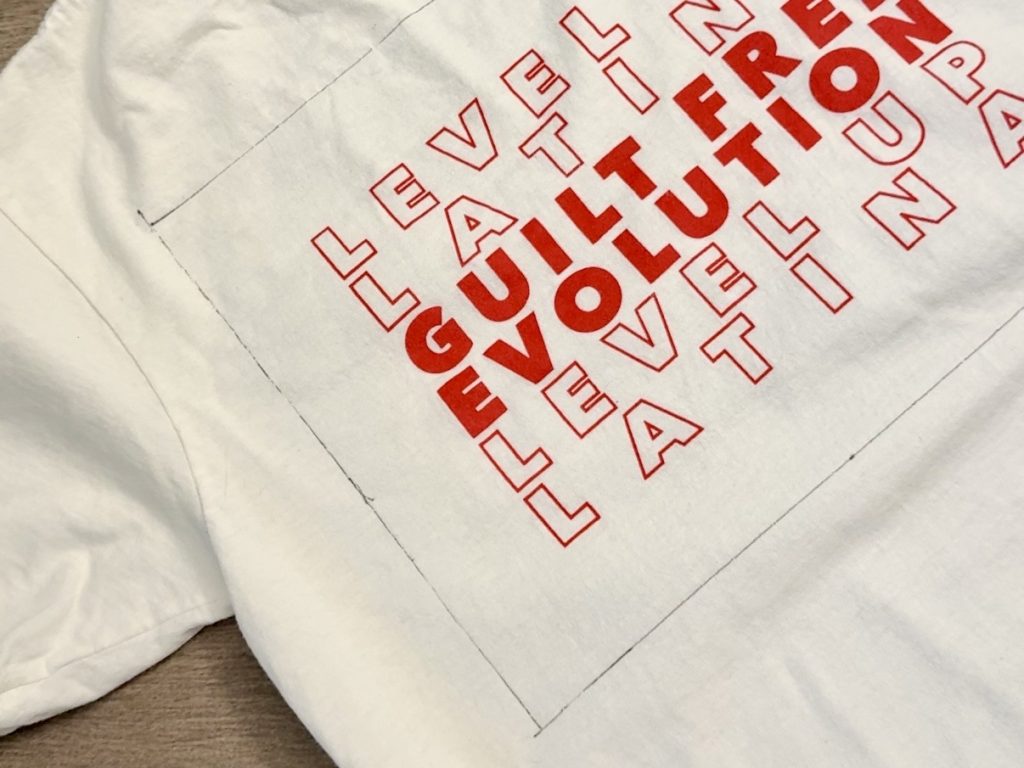
(Note: If you’re using a heat-erasable pen, any leftover lines will disappear when you iron. Totally optional, but it’s a nice hack so you don’t have to worry about sketching and cutting out your shape perfectly.
3. Cut your Heat n Bond: In case you’ve never used it before, Heat n Bond is a double sided adhesive sheet that bonds two species of fabric together, and it’s super simple to use. Cut a matching piece of Heat n Bond to apply to the back of your patch. It should be the same size as your patch, or just a tiny bit smaller so it doesn’t peek out the edges.
4. Apply the Heat n Bond to Your Patch: Follow the directions on the Heat n Bond package to iron it onto the back of your patch. Directions can vary a little by product, so it’s worth reading them.
Step 5: Iron the Patch Onto Your Tote Bag: Position your patch on the bag, then iron it directly on. Be careful as you move your iron, so the patch doesn’t shift.
Step 6: Sew Around the Edges: Use your sewing machine to sew around the edges. This makes sure the patch stays secured, plus it gives everything a cleaner look.
Once you’ve secured your patch, you’re done!
My Beginner Sewing Experience (Imperfections and All)
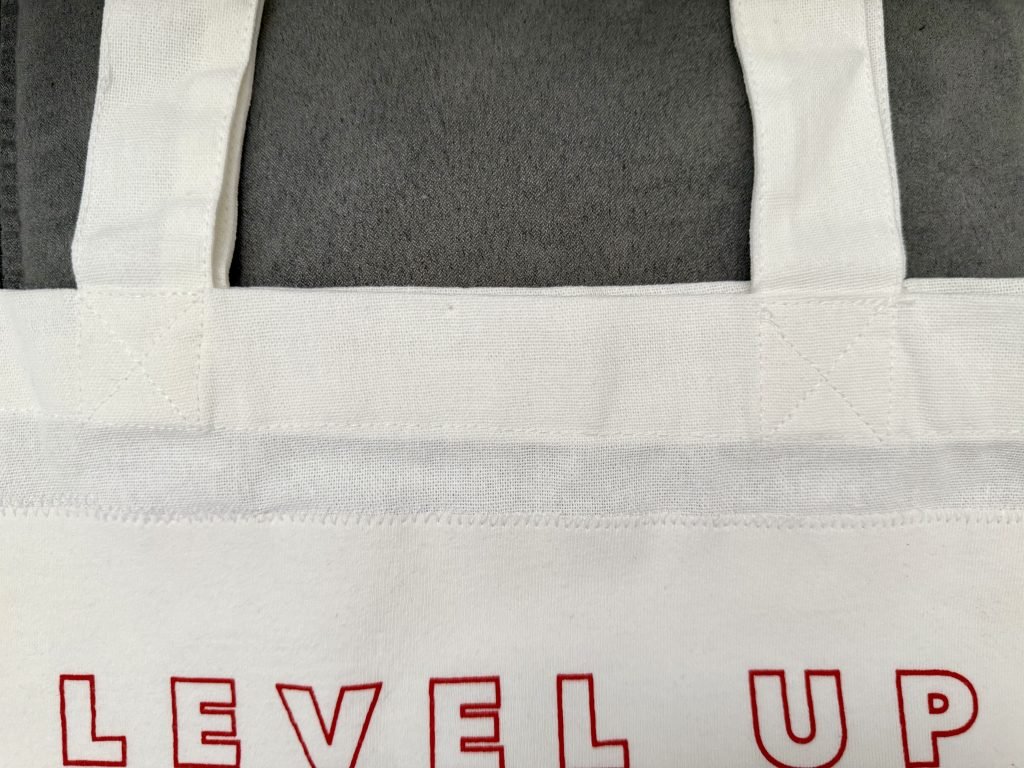
I used a zigzag stitch on my sewing machine, but you can totally hand sew it if you don’t own one.
I’m completely new to sewing, and this is one of my first projects on my machine. So yes, there are definitely a lot of imperfections. But I made it work, and practice makes perfect, right?
Plus, since my thread is white on white fabric, it’s not really noticeable unless you look closely. (Sometimes a lazy color choice works in your favor.)
If you’re a beginner too, don’t let the sewing part scare you. You’re just stitching around a rectangle, so I believe in you!
Tips for the Best Results
A few things that make this project go a little smoother:
- Wash your tote bag first. Fabric can shrink, and you don’t want your patch to get wonky after the first wash.
- Protect your design. A thin cotton press cloth or parchment paper protects the printed graphic from direct heat. I normally use a teflon sheet that I got a while back with some heat transfer vinyl I bought.
- Test on a scrap first. If you’re unsure how your t-shirt design handles heat, try a small scrap piece first..
Ways to Make This Project Your Own
I kept things super simple, but there are so many ways to get creative with this one:
- Rearrange the design. Cut up different parts of the t-shirt graphic and mix them into a new layout.
- Play with colors. Try a colorful tote bag, or thread that contrasts with the bag on purpose.
- Use more than one shirt. A patchwork of different tees would be so fun.
- Try other fabric items. The same method works on a denim jacket, a pillow cover, or a backpack.
My bag is pretty basic, because it’s what I had on hand, and honestly, that’s just my style.
Final Thoughts
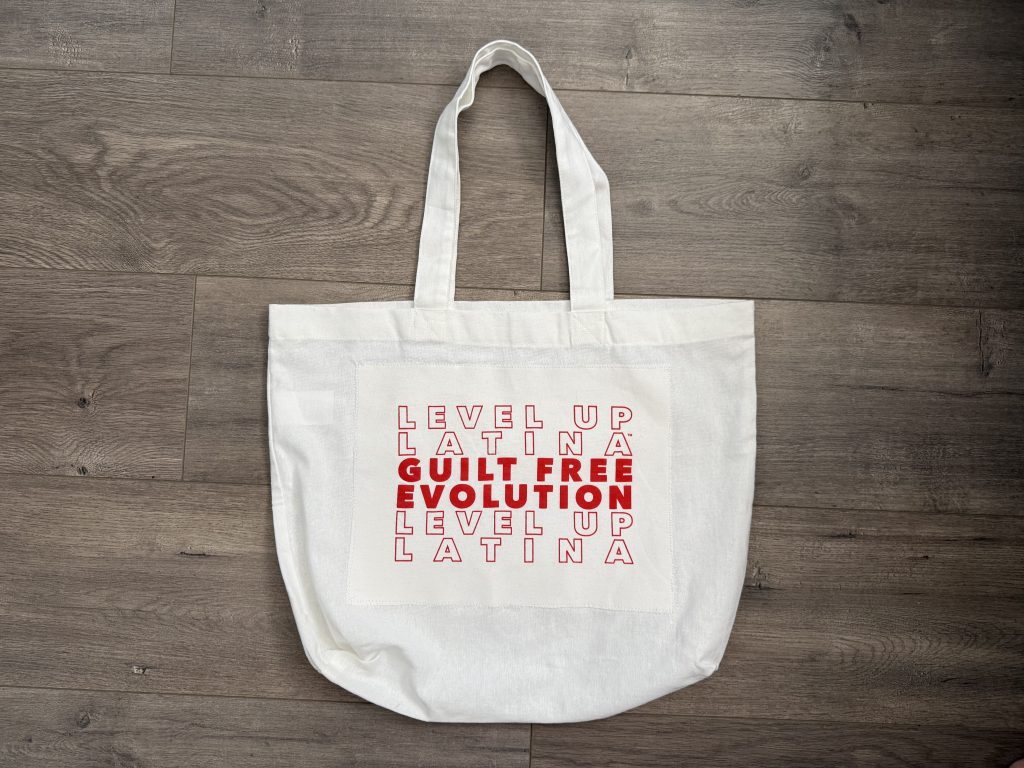
Upcycling a t-shirt into a tote bag is such an easy way to keep a favorite design in your life without letting the shirt sit in a drawer. It takes just a few supplies, and it’s a great first project if you’re new to sewing.
If you have a shirt you love but never wear, give this a try. You might just end up with your new favorite bag.
And if you want something to make with rest of your t-shirt, check out my DIY dog toy tutorial.
Love this idea? Save this post on Pinterest so you can come back to it when you’re ready to make yours!